15 Cheap Walk-In Closet Ideas That Actually Work on a Budget
Introduction
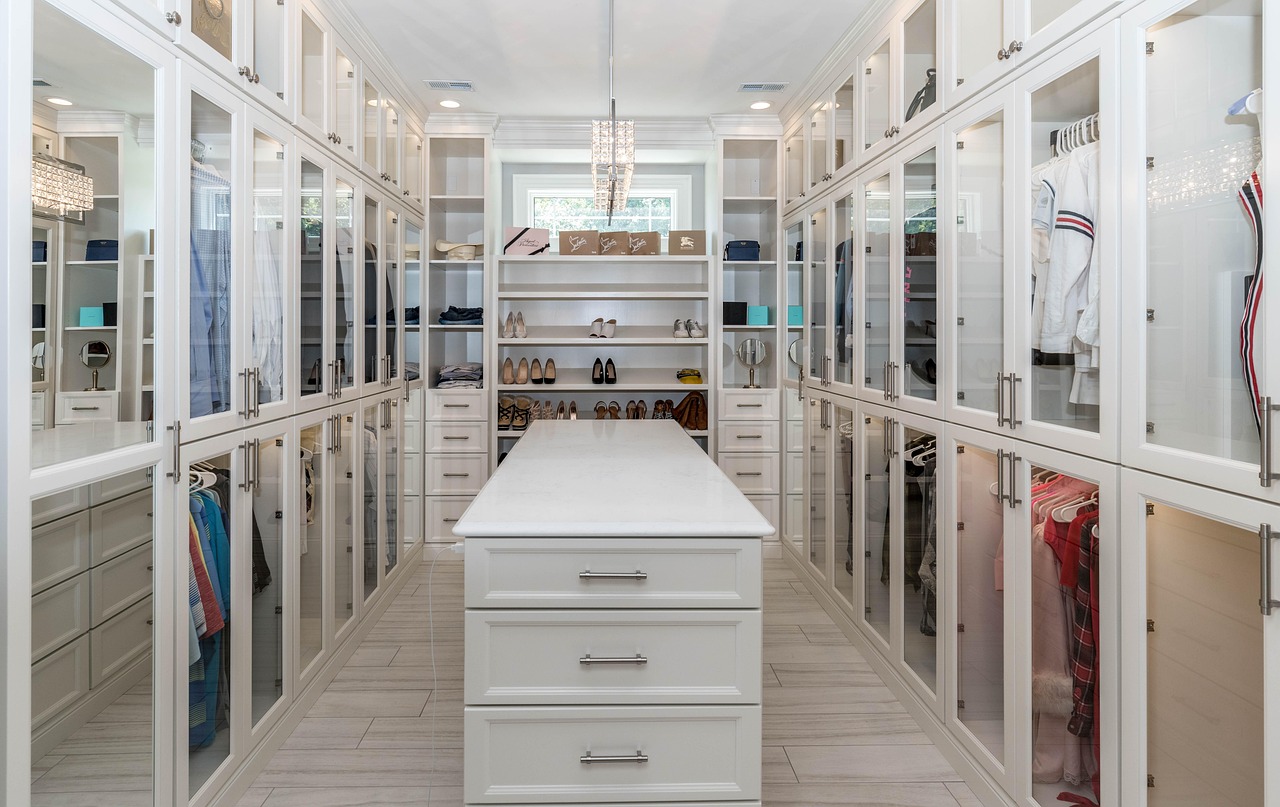
You don’t need thousands of dollars to build a walk-in closet that works. Whether you’re a renter, a first-time homeowner, or just someone who values organization over custom millwork, plenty of cheap walk-in closet ideas deliver real results without breaking the bank. The trick is knowing where to spend and where to save. This article covers 15 budget-friendly walk-in closet ideas, each with cost breakdowns, product comparisons, and practical tradeoffs. The goal is to show you can build a functional, good-looking closet for a fraction of the price of a professional install, as long as you make smart choices.
Why Cheap Doesn’t Mean Low Quality: Understanding the Tradeoffs
There’s a common misconception that a cheap closet inevitably looks cheap or falls apart. That’s only true if you prioritize the lowest possible price over everything else. The real skill lies in understanding tradeoffs. For example, you can save a lot of money by using wire shelving instead of solid wood, but you’ll get a more industrial look and less structural support for heavy items. Similarly, a modular cube system costs less than custom built-ins, but you lose some sizing flexibility. The key is to decide what matters most for your specific use. If you hang mostly lightweight shirts, a $40 plumbing-pipe rod is just as functional as a $200 brass rod. If you store heavy winter coats, you’ll need something sturdier. This article will help you make those decisions, not just list products.
What to Expect for $500, $1,000, and $2,000 Budgets
Before diving into specific ideas, it helps to set realistic expectations based on your budget. Here’s what you can typically achieve at three common price points:
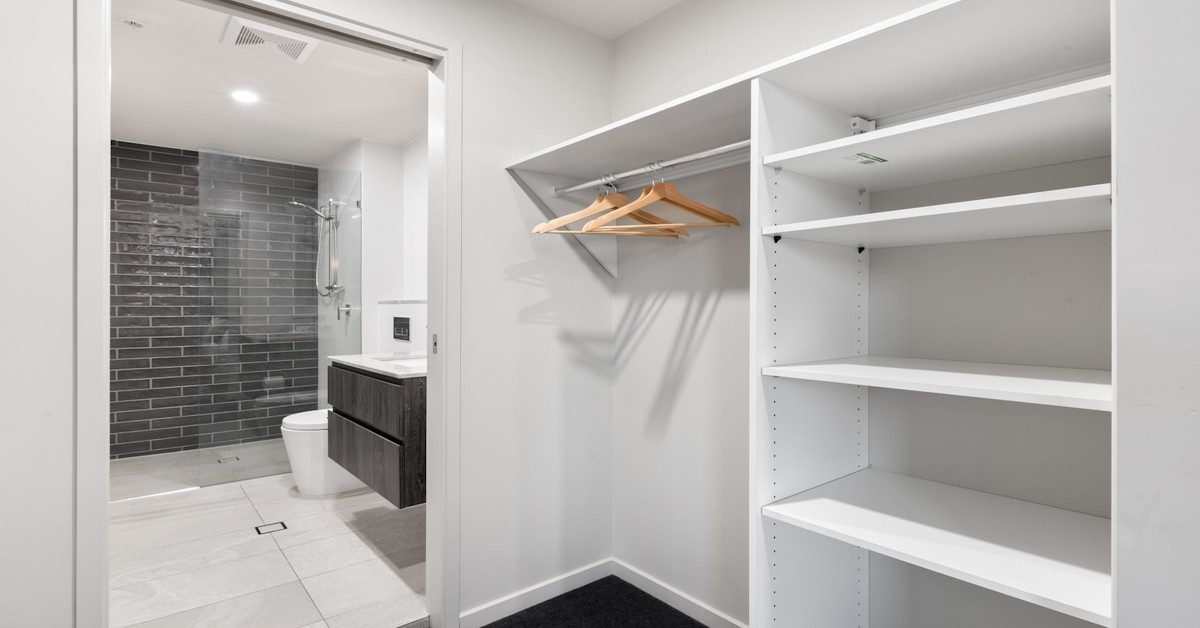
- $500 Budget: You can outfit a 5×7 closet with wire shelving, a few tension rods, over-the-door organizers, and basic plastic or fabric bins. You’ll cover the storage basics without much left for lighting or premium accessories. This is a solid entry point for someone starting from scratch.
- $1,000 Budget: You can upgrade to laminate shelving or a modular cube system, add a decent dresser or chest of drawers, and install stick-on LED lighting. You’ll have better aesthetics and a more organized space. This is the sweet spot for most DIY homeowners.
- $2,000 Budget: At this level, you can mix laminate shelving with a few solid wood pieces, get higher-quality bins, and possibly add a small bench or seating area. You start approaching the look of a professional system without the installation cost. You can also invest in better lighting and more specialized organizers.
None of these budgets include professional installation. If you do the work yourself, you save 30–50% compared to hiring a closet company. That’s the biggest tradeoff of all: time versus money.
Idea #1: Open Shelving with Wire Racks
Wire shelving is the workhorse of budget closet ideas. Brands like ClosetMaid offer affordable kits that are easy to cut and install. A basic 8-foot wire shelf with a rod and mounting hardware runs under $50. It works well for shoes, folded clothes, and accessories. The main advantage is cost and simplicity. The downside is that wire shelves don’t look as finished as wood, and small items can fall through the gaps. Solid plastic bins on the shelves fix that. When installing, make sure you secure the brackets into studs, not drywall alone, especially if you plan to store heavy items like boots or bags. Overloading is the most common mistake—wire shelves have a weight limit, usually around 50–75 pounds per shelf. Stay under that and they’ll hold up fine for years.

Idea #2: DIY Closet Rods from Plumbing Pipe
Galvanized steel plumbing pipe creates a sturdy, industrial-looking closet rod at a fraction of the cost of a custom option. You’ll need a length of 1/2-inch or 3/4-inch black or galvanized pipe, two flanges, and a few elbows. Total cost is around $30–$60, depending on length and fittings. Assembly is straightforward: mount the flanges to the wall or ceiling, screw in the elbows, and attach the pipe. This is a great project for renters because the pipe can be removed and reused. Just make sure you have a stud finder and a drill. The industrial style works well with contemporary or loft decor, but it may feel out of place in a traditional home. Also, use a pipe cutter or have the store cut the pipe for you—a hacksaw works but takes time. For hanging regular clothing, 1/2-inch pipe is plenty strong.
Idea #3: Modular Cubby Storage Systems
Cube storage units are a classic cheap walk-in closet idea for good reason. The IKEA Kallax series is the most popular, but you’ll find similar options from Amazon Basics and other brands for $80–$200. The cubes let you create a grid you can fill with fabric bins, baskets, or open storage for folded clothes and accessories. The main tradeoff versus custom built-ins is that cube systems are limited to standard cube sizes, so you lose the ability to customize the height of each shelf. But if you organize by category—jeans in one cube, sweaters in another—they work well. Just anchor the unit to the wall for safety, especially if you have kids. Fabric bins from Sterilite or off-brand sellers can be found for $10–$15 each.
Idea #4: Tension Rods for Secondary Hanging Space
If your walk-in closet has an awkward alcove, a narrow gap between shelves, or a corner too small for a full rod, tension rods can create an extra hanging spot for under $25. They don’t require drilling and are completely removable, making them ideal for apartments or dorms. Use them for scarves, belts, ties, or lightweight jackets. The downside is durability—tension rods aren’t meant for heavy loads. A full set of suits or denim jackets will cause them to slip. For that reason, look for heavy-duty tension rods with rubber ends and a metal core. Rated for 25–30 pounds, they’ll handle most accessories and some light clothing. This is a very cheap win, but only in the right context.
Comparison: Wire Shelving vs. Laminate vs. Solid Wood
Choosing the right shelf material is one of the most important decisions for a cheap walk-in closet. Here’s a breakdown of the three most common options:
- Wire Shelving: Costs about $5–$8 per linear foot. Easy to install with basic tools. Very durable for the price, but the open design collects dust and small items fall through. Best for utility-focused spaces where appearance isn’t a priority. Works well with bins.
- Laminate Shelving: Costs about $10–$18 per linear foot. Comes in white, gray, or wood grain finishes. Medium difficulty to install—you need to cut the boards or buy precut sections. More polished look than wire, but the edges can chip over time. Can support moderate weight (30–50 pounds per shelf). A good middle ground for most homeowners.
- Solid Wood Shelving: Costs $20–$40 per linear foot. Requires careful measuring and cutting, and is harder to install because the panels are heavy. The best look and highest weight capacity (80–100 pounds per shelf). But for the same price, you could buy a laminate system plus lighting and bins. Only worth it if you plan to display heavy books or collectibles, or if aesthetics are critical.
For budget closets, laminate is often the smartest choice—it looks decent, supports enough weight, and doesn’t break the bank. Wire is for pure function, and solid wood is for when you have extra cash and high expectations.
Idea #5: Over-the-Door Shoe Organizers (and Beyond)
An over-the-door organizer costs under $30 and instantly adds storage for shoes, scarves, jewelry, or small accessories. This is especially useful if your walk-in closet is tight on floor space. Look for models with clear or mesh pockets so you can see what’s inside. The main consideration is door clearance—if your closet door is standard width (28–32 inches), most organizers will fit. But if you have a bifold door or a pocket door, you’ll need a dedicated rack that hooks over the top edge. Avoid stuffing too many heavy items in the bottom pockets, or the organizer can sag. For shoes, I recommend models with vented pockets to prevent moisture buildup. Brands like Honey-Can-Do and SimpleHouseware are reliable and affordable.
Idea #6: Use a Dresser Inside Your Closet
Instead of spending hundreds on built-in drawers, place a low-profile dresser or chest of drawers inside your walk-in closet. This is one of the most practical cheap walk-in closet ideas if you have a small to medium-sized space. A dresser under 30 inches high costs $100–$250 and gives you far more storage for folded clothing than most shelf systems. The tradeoff is that it takes up floor space, so measure your available area first. A 5×7 closet can comfortably fit a three-drawer dresser along one wall, leaving the remaining space for hang rods and shelving. Look for budget-friendly options from Sauder, Ameriwood, or IKEA’s Malm series. Solid wood is heavy and expensive—MDF or particleboard with a laminate finish is fine for this purpose.

5 Common Mistakes to Avoid When Building a Cheap Walk-In Closet
Even with a smart plan, people make the same mistakes over and over. Here are five to watch out for:
- Underestimating lighting needs. A walk-in closet with a single overhead bulb feels dark and cramped. Affordable stick-on LED lights (see Idea #7) are a cheap fix that makes a huge difference. Don’t skip this.
- Choosing low-weight shelving for heavy items. Wire shelves that work for t-shirts will buckle under stacking jeans or boots. Always check weight ratings and plan your storage accordingly.
- Ignoring vertical space. Most people only use the lower 5 feet of their closet. Tall shelving gives you room for seasonal bins, luggage, or extra linens. You can get a simple wood or wire shelf up to 8 feet for under $30.
- Forgetting about seasonal rotation. If you don’t plan for swapping winter coats with summer t-shirts, your closet will be a mess twice a year. Use bins or labeled shelves with a clear system.
- Buying without measuring. The most common mistake of all. Measure the width, height, and depth of every space before buying anything. Do it twice, write it down, and check it against the product dimensions. It saves returns and frustration.
Avoiding these mistakes will save you money, time, and disappointment.

Idea #7: Budget-Friendly Lighting Solutions
Lighting transforms a cheap closet from a dark hole to a usable space. You don’t need an electrician. Stick-on LED puck lights are the easiest option—they’re battery-operated, motion-sensing, and cost $15–$25 for a two-pack. Place them under shelves or inside cubbies to illuminate what you’re actually looking for. Another good option is battery-operated motion sensor overhead lights that mount directly to the ceiling. They cost $20–$50 and typically last months on a set of batteries. Clip-on task lights are also useful for specific areas like a dressing mirror or a small workspace. The key is to distribute light evenly. One central light above the hanging rods is less useful than two puck lights placed near the shoe and folded clothing areas. Spend around $40–$60 on lighting and you’ll make a $500 closet feel like a $1,500 space.
Idea #8: Repurposed Furniture as Closet Storage
Thrift stores, garage sales, and your own attic are full of storage solutions that can be modified for a closet. An old bookshelf can become a shoe rack or a shelf for folded sweaters. A small nightstand or end table can hold accessories and jewelry right next to the door. A cabinet without doors works great for bins and baskets, or you can add doors to hide clutter. The advantage is cost—often under $50—and the unique look you can’t get from store-bought systems. The disadvantage is that repurposed furniture usually doesn’t fit perfectly, so you may need to trim legs or adjust shelves. If you’re comfortable with basic tools, this is a satisfying project that saves money and reduces waste. Just make sure the piece you choose is sturdy enough for daily use.
Bringing It All Together: A Sample Budget Breakdown for a 5×7 Closet
Let’s combine several ideas into a complete budget for a 5×7 walk-in closet. The total comes in under $600, and it uses materials and products we’ve covered. Here’s the breakdown:
- Wire shelving (two 8-foot sections with rods and brackets): $80
- Two tension rods for secondary hanging: $25
- Modular cube storage unit (2×2 grid): $90
- Fabric bins for cube cubbies (set of 4): $40
- Over-the-door shoe organizer: $25
- Low-profile dresser (three drawers): $150
- LED puck lights (two-pack): $20
- Miscellaneous hooks and mounting hardware: $30
- Repurposed nightstand (thrifted): $40
Total: $500
This gives you hanging rods for long and short items, shelving for bins and shoes, a dresser for folded clothes, organized cubbies for accessories, and lighting to see everything clearly. It’s a functional, cohesive system that doesn’t look like a random pile of cheap parts. If you have an extra $100–$150, upgrade to laminate shelving or a nicer dresser. The point is that you can build a very useful walk-in closet with less than $600.
These cheap walk-in closet ideas prove that smart planning beats a big budget every time. Start measuring, pick the ideas that fit your space and style, and build something that works for your life. Now you can compare prices on Amazon for the shelving, bins, lighting, and dressers mentioned here.