How to Install a Hidden Safe in Your Closet: A Step-by-Step Guide
-
- 76
How to Install a Hidden Safe in Your Closet
If you’re a DIY homeowner looking to secure valuables without a bulky floor safe or a trip to the bank, installing a hidden safe in your closet wall is a smart, satisfying project. You get discreet protection, easy daily access, and you use empty space between studs that would otherwise go to waste. I’ve installed several of these over the years. The process isn’t complicated, but a few details separate a clean, secure job from a frustrating one. This guide covers exactly what you need, how to pick the right safe, and the steps to get it done right.
Why Install a Hidden Safe in Your Closet?
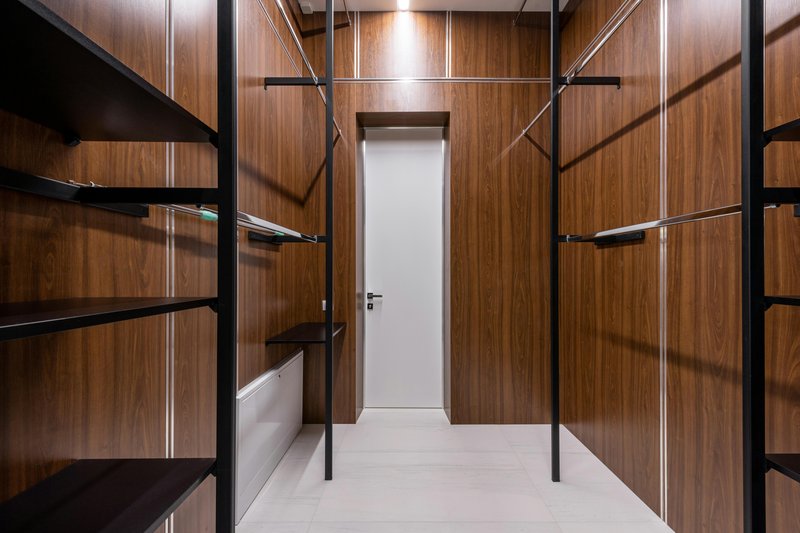
The main advantage is concealment. A burglar working quickly will check under beds, inside nightstands, and in top drawers. They rarely start cutting into drywall. A recessed wall safe sits flush with the wall, staying invisible unless you know it’s there. A closet works well because it’s already a private space, and you can further hide the safe behind clothes, shoes, or a shelf.
. For more ideas, check out Step-by-Step Built-In Closet Construction Guide.
You also get convenience. Instead of a heavy floor safe in a corner of the basement, a wall safe in your closet puts passports, cash, jewelry, or a firearm within easy reach. The tradeoff is size. Wall cavities are only about 3.5 inches deep, so you’re limited to smaller items. Large documents or multiple handguns won’t fit in most models. But for everyday valuables, the tradeoff is worth it.
What You’ll Need Before Starting
Having the right tools on hand prevents frustration and wasted trips to the hardware store. Here’s what you’ll need:
- Stud finder: A decent one saves time. Choose a model with deep-scan capabilities. A good stud finder lights up studs clearly and won’t break the bank.
- Drywall saw or oscillating multi-tool: A sharp drywall saw works fine, but an oscillating multi-tool gives you more control and cleaner cuts.
- Level: A 2-foot level is enough. Don’t skip this.
- Drill and bits: A standard cordless drill will do. Grab a bit set that includes masonry bits if you’re going into concrete block.
- Shims: Small wood or plastic wedges to level the safe inside the opening.
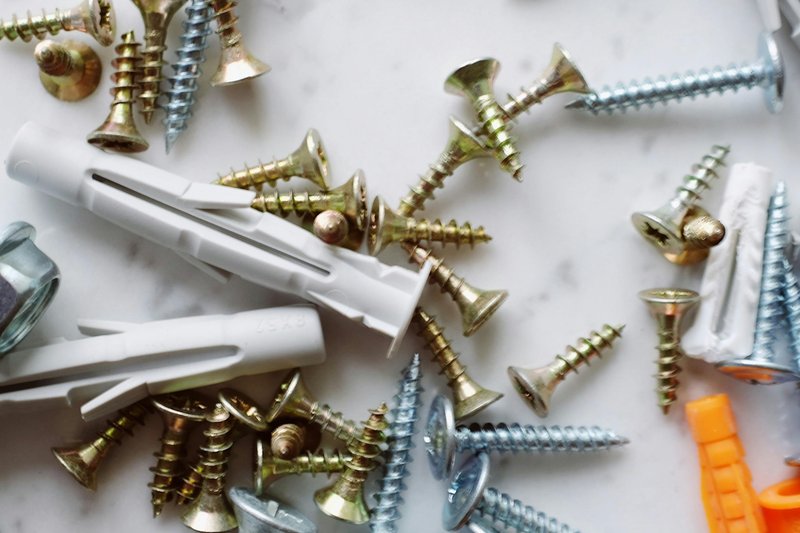
- Lag bolts or masonry screws: These come with most safes, but check before you start. If yours doesn’t, get 1/4-inch lag bolts long enough to reach your blocking.
- 2×4 lumber: For blocking between studs. One 8-foot board is usually enough for one safe.
- Measuring tape and pencil: Obvious but worth mentioning.
- Safety glasses and dust mask: Drywall dust gets everywhere.
If you’re shopping for a safe, look for one with pre-drilled mounting holes and a solid steel body. Avoid cheap sheet-metal boxes. A solid wall safe with good reviews is a great starting point, and many are straightforward to install.
Choosing the Right Safe for Your Closet Wall
Not all wall safes are the same. You need to match the safe to your wall depth, your budget, and what you plan to store. Here’s the breakdown:
Recessed vs. Surface Mount: A recessed safe sits between studs and stays flush with the drywall. This is the best option for a hidden installation. Surface mount safes bolt to the front of the wall and stick out. They’re easier to install but harder to conceal. For a closet, go recessed.
Fire-Rated vs. Standard: Fire-rated safes have insulation that protects contents during a house fire. They cost more and are thicker, so make sure your wall cavity can fit them. If you’re storing important documents or digital backups, a fire-rated model is worth the investment. For cash and jewelry, a standard safe is fine.
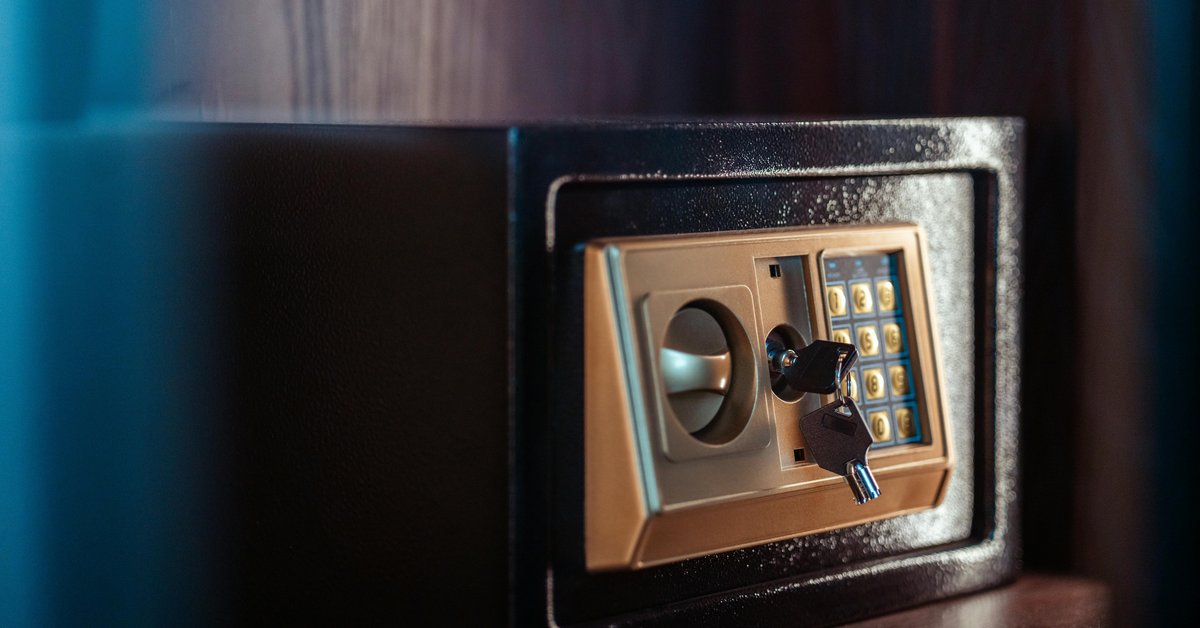
Digital vs. Key Lock: Digital keypads are convenient and fast. Keys are reliable but easy to lose or have stolen. Biometric fingerprint locks are the fastest but can fail if your hands are wet or dirty. For most people, a digital keypad with a backup key offers the best balance of security and convenience.
Best for typical closets: Look for a safe that is about 14â18 inches wide and 4â6 inches deep. This fits most 16-inch on-center stud cavities. If your studs are 24 inches on center, you have more flexibility. Measure your wall cavity before you buy.
If you’re on a budget, skip fire-rated models. If you need maximum security, spend more on a safe with hardened steel and a pry-resistant door. Don’t overbuy for a shallow wall. A safe that sticks out defeats the purpose of concealment.
Step 1: Locate the Best Wall Position
Before you cut anything, find the right spot. Use your stud finder to locate the studs in your closet wall. Most walls have studs spaced 16 inches apart. You need a cavity between two studs that is wide enough for your safe.
Mark the edges of both studs with a pencil. Then check for electrical wires, plumbing, or ducts. The best way is to look for outlets, switches, or pipes in adjacent rooms. If your closet is on an interior wall, wires are less common but still possible. If you’re unsure, buy a stud finder that also detects live wires. It’s a small investment that prevents a dangerous mistake.
A common beginner mistake is choosing a spot that is too low. You want the safe between 12 and 24 inches off the floor. This puts it at a comfortable kneeling height and makes it easy to access without bending over. Too high and it becomes obvious; too low and you risk hitting baseboards or flooring.
Once you have a clear cavity, mark the center. This is where the top and bottom of the safe will go.
Step 2: Cut the Drywall Opening
Now you’re ready to cut. Place your safe against the wall and trace its outline with a pencil. Make the cutout slightly larger than the safe itselfâabout 1/8 inch on each side. This gives you room to adjust and shim later.
Use a drywall saw or an oscillating multi-tool to cut along the lines. Start with a pilot hole at a corner, then follow the line. Go slowly. Drywall is fragile, and a jagged cut is harder to patch later. If you use a drywall saw, keep the blade straight to avoid widening the cut. An oscillating tool gives you cleaner edges and less dust, but it is slower.
Stop cutting when the opening is complete. Remove the cutout piece and set it aside. You might reuse it later for patching. Check the opening against your safe. It should slide in easily but not wobble. If it is too tight, trim the drywall slightly.
Step 3: Install Wooden Supports or Blocking
Here’s where many DIYers go wrong. You can’t just screw the safe into the drywall. You need solid wood to bite into. Measure the distance between the studs at the top and bottom of your opening. Cut two pieces of 2×4 lumber to fit snugly between them.
Slide one piece into the cavity horizontally at the top of your cutout and the other at the bottom. Make sure they are flush with the back of the drywall. Screw each piece into the studs on both ends using 3-inch deck screws. This creates a solid frame to mount your safe.
If your safe is tall, you might need an additional support in the middle. Check the safe’s mounting holes. Most safes have holes near the top and bottom. Align your blocking with those holes.
Step 4: Mount the Safe to the Wall
Slide the safe into the opening. It should fit between the studs and rest against the blocking. Use a level to check that the safe is perfectly horizontal. If it’s not, use shims between the safe and the blocking to adjust. Don’t skip leveling. A tilted safe looks bad and may not close properly.
Once it’s level, mark the mounting hole locations on the blocking through the safe’s pre-drilled holes. Remove the safe and pre-drill pilot holes into the blocking. Then reinsert the safe and drive the lag bolts or screws through the safe and into the blocking. Don’t overtighten. You want the safe snug but not so tight that you strip the screw heads or crack the safe body.
. If you’re interested in related upgrades, see our guide to How to Install a Pull-Out Mirror for Small.
If your safe is heavy, have a helper hold it while you drill or screw. A dropped safe can damage drywall or your toes.
Step 5: Finishing and Camouflaging the Installation
Now the safe is secure, but the opening around it needs attention. If the cutout is clean, you can cover the gap with a trim molding that matches your closet baseboards. Paint or stain the molding to match. This is an easy way to make the installation look intentional and hide any rough edges.
If you want the safe to be completely invisible, recess it slightly and patch the drywall over it. This requires cutting a larger hole, installing the safe, then adding drywall patches and mud. It is more work but worth it if you want zero visibility.
For a simple solution, hang a few jackets or shirts in front of the safe. A shelf above it with folded sweaters works too. Don’t overthink it. The goal is to prevent casual discovery, not to build a hidden room.
Common Mistakes to Avoid During Installation
Over the years, I’ve seen a few repeated errors. Avoid them and your installation will go smoothly.
Cutting too large an opening: This is the most common. You can’t un-cut drywall. Measure twice, mark carefully, and cut slightly small. You can always trim, but you can’t add material back.
Skipping the stud check: Installing a safe into a hollow wall without blocking is a waste. The safe will pull out with a few pounds of force. Always add solid wood to screw into.
Not leveling the safe: A tilted safe looks sloppy and can cause the door to bind. Use shims. It takes two minutes and makes a huge difference.
Using undersized screws: The screws that come with some safes are too short. If your blocking is 1.5 inches thick, you need screws that go at least 1 inch into the wood. Check the length before starting.
Bolt-Down vs. Wall-Safe: Which Is Better for Your Closet?
This decision depends on your closet setup. A wall-safe is recessed into the wall, making it easy to conceal, but it limits size and depth. A bolt-down safe sits on the floor and is anchored with bolts into the subfloor or concrete. It can be larger and heavier, making it more secure against theft.
For a walk-in closet with a concrete subfloor, a bolt-down safe is the strongest option. It’s harder to remove and can hold larger items. But it’s also harder to hide. You can cover it with a rug or box, but a determined burglar might find it.
For a small reach-in closet or an apartment, a wall-safe is better. It uses existing space and doesn’t require floor anchoring. It’s also easier to install and remove when you move out. If you’re a renter, a wall-safe is usually more practical because you can patch the wall and take the safe with you.
If you have both options, consider a wall-safe for daily access and a bolt-down for long-term storage of larger items. Don’t overthink it. Most homeowners are better served by a well-installed wall-safe.
When to Call a Professional
Most DIYers can handle this project, but there are exceptions. If your closet wall contains electrical wiring that you need to reroute, call an electrician. Cutting into live wires is dangerous and can start a fire. If you’re unsure, use a non-contact voltage tester before cutting.
If the wall is load-bearing, you need a carpenter or structural engineer to verify that cutting the cavity is safe. In most cases, a single stud cavity is fine, but if you’re removing multiple studs, get professional advice.
Finally, if you’re installing a heavy or high-value safe (over 100 pounds or with serious security features), professional mounting ensures it’s done correctly and securely. A safe that falls off the wall is worse than no safe at all.
Frequently Asked Questions
How deep should a wall safe be? Most wall cavities are 3.5 inches deep. Look for a safe that is no deeper than 3.25 inches to leave room for drywall. If you have 2×6 stud walls, you can go deeper.
Can I install one in an apartment? Yes, if you’re allowed to drill into walls. Check your lease. Most landlords permit small modifications if you patch them before moving out. A wall-safe is a good choice for renters because it’s removable.
Does a wall safe affect home resale value? Not significantly. Buyers may see it as a bonus, but it’s not a major selling point. If you leave it behind, disclose it. Some buyers dislike holes in walls.
How do I prevent the safe from being pried open? Use a safe with a recessed door and a pry-resistant lip. Secure it with at least four lag bolts into blocking. A professional thief might still get in, but a casual burglar will move on.
Can I put a safe in a closet with a drop ceiling? Yes, but measure carefully. The safe needs to fit between the ceiling and the floor without interfering with wiring or ductwork above the drop ceiling.
Final Thoughts and Next Steps
Installing a hidden safe in your closet is a weekend project that adds real security to your home. You save space, keep valuables close, and gain peace of mind. what matters is to measure carefully, use proper blocking, and finish cleanly. Don’t rush the cutting or skip the leveling step.
. For more ideas, check out How to Install a Full-Length Mirror on a Closet.
Now that you have the steps, the next move is to pick your safe and gather your tools. Check out the recommended safes and stud finders linked above. They’ll save you time and help ensure a solid installation. Your closet is ready for an upgradeâget started this weekend.
A practical step-by-step guide to closet wall safe installation, covering planning, tools, framing, mounting, and finishing for real-world results.
A practical step-by-step guide to closet wall safe installation, covering planning, tools, framing, mounting, and finishing for real-world results.