How to Build a Custom Floating Closet Shelf: A Step-by-Step DIY Guide
How to Build a Custom Floating Closet Shelf
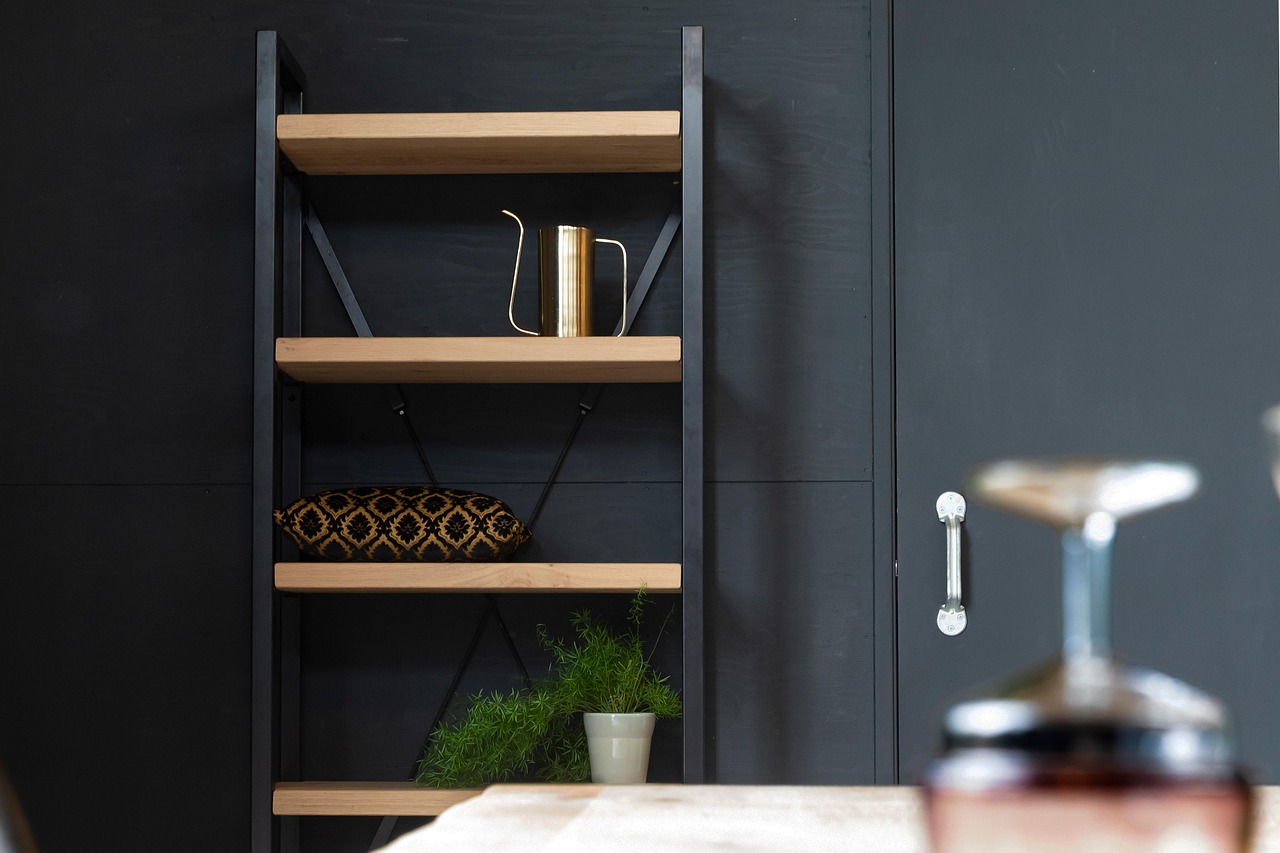
If you’re looking to upgrade your closet without a full renovation, a custom floating closet shelf is one of the quickest ways to change how the space feels and functions. This article walks you through the entire process, from measuring your space and picking materials to the final installation. These are the same steps I’ve used on a dozen closet projects in my own home, and they work whether you’re a weekend warrior or a first-time DIYer. By the end, you’ll have a clean, modern shelf that looks built-in, not bolted on. No contractor required.

Why Choose a Floating Closet Shelf Over a Standard One
The biggest reason people go with floating shelves in a closet is the visual payoff. A floating shelf sits flush against the wall with no visible brackets or supports. That uninterrupted line makes even a small closet feel more intentional and polished. It also frees up floor space completely, which is critical in tight reach-in closets where every inch counts.
Cleaning is another practical win. With standard shelving, dust and debris collect under the brackets and along the support legs. A floating shelf eliminates most of those crevices, so a quick wipe-down is all it takes.
But there are tradeoffs. Floating shelves generally have a lower weight limit than a shelf mounted on visible brackets or cleats. And the installation is more demanding because the hardware must be perfectly level and anchored into studs. If you need to store heavy boxes or boots, you may want to stick with a fixed system. For folded clothes, accessories, or display items, floating is the better look. It comes down to what you plan to store.
Tools and Materials You’ll Need
Having the right tools upfront makes the difference between a smooth install and a frustrating afternoon. Here’s what I use for every floating shelf project:
- Stud finder – This is non-negotiable. A magnetic or electronic finder will save you from mounting into empty drywall. For a reliable option, consider a stud finder that suits your needs.
- Level – A 48-inch level is ideal for closet shelves. Shorter ones work, but you’ll need to check more often.
- Drill and driver bits – A cordless drill with a clutch is best. Pre-drill pilot holes to avoid splitting wood.
- Hidden bracket kit – I prefer the steel hidden shelf brackets available online. Look for hidden shelf brackets rated for at least 50 pounds per pair. This is the core of your floating look.
- Shelf board – I recommend 3/4-inch plywood with a hardwood veneer or solid wood like poplar or oak. Avoid MDF for any shelf that will see daily use.
- Wood screws and drywall anchors – Use #8 or #10 screws for studs, and high-quality toggle bolts if you must anchor into drywall (avoid if possible).
- Sandpaper or electric sander – 120-grit and 220-grit are all you need for a smooth finish.
- Finish supplies – Paint, stain, or polyurethane depending on your look. A foam roller and a good brush are fine.
If you already own a miter saw or circular saw, great. If not, most home centers will cut your board to size for a small fee. That alone removes the hardest part of the project.
Measuring Your Space: Get It Right the First Time
Good measuring is the foundation of any closet shelf that fits. Start by measuring the width of your closet opening from wall to wall. Do this at three heights: near the floor, at shelf height, and near the ceiling. Walls are rarely perfectly straight, and taking just one measurement can lead to a shelf that either rubs against one wall or leaves a visible gap on the other. Use the shortest measurement for your shelf length.
Next, decide on depth. Standard closet shelves are 12 inches deep, which works well for folded clothes and small bins. If you have deeper bins or want to display larger accessories, go up to 16 inches. Anything deeper starts to feel bulky and can make items hard to reach.
Mark your stud locations using the stud finder, and mark them clearly. Shelves need to be mounted directly into studs wherever possible. If your closet has outlets or light switches on the back wall, account for them. I once built a shelf that perfectly intersected a light switch plate, and I had to cut an access hole. That lesson stuck.
A common mistake is assuming the shelf will hide wall imperfections. If your wall is uneven, a floating shelf will exaggerate the gap instead of covering it. Use shims during bracket installation to keep everything level.

Choosing the Right Materials: Wood, Brackets, and Finishes
The shelf board itself has three common choices, and each serves a different purpose.
Solid wood (poplar, oak, maple) is the strongest option. It takes stain beautifully and can support heavier loads. The downside is cost, especially for wider boards. If you want a stained finish that shows wood grain, this is your pick.
Plywood with a hardwood veneer is a close second. It resists warping better than solid wood and costs less. A cabinet-grade birch plywood with a sanded face is my go-to for painted shelves. It cuts cleanly and doesn’t split easily.
MDF is the budget option. It paints well and has no grain, but it sags under weight and can swell if exposed to moisture. Use MDF only for light-duty display shelves in a dry closet. I avoid it for anything that will hold actual clothing or bins.
Bracket type matters just as much as the wood. Hidden steel brackets are the most popular for floating shelves. They slide into a channel routed into the bottom of the board. They work well for shelves up to 12 inches deep and hold 30-50 pounds per pair. For deeper or longer shelves, consider a cleat system. A cleat is a strip of wood mounted to the wall that the shelf hooks onto. It is stronger and easier to level but requires more skill to cut.
Finish is where you personalize. Painted shelves match trim and walls for a seamless look. Stained shelves add warmth and contrast. Whichever you choose, apply at least two coats of primer or stain sealer before installation. It is much easier to finish on a workbench than on the wall.
Step-by-Step Installation Guide
- Mark stud locations – Use your stud finder to locate every stud across the back wall. Mark the center of each stud with a pencil, then run a piece of painter’s tape across the wall and transfer your marks. This keeps your measurements clean.
- Cut the shelf board to size – If you bought pre-cut lumber, you may only need to square the ends. Otherwise, use a circular saw with a straightedge guide or a miter saw for clean cuts. Cut the board about 1/4 inch shorter than your shortest width measurement to ensure it fits.
- Sand and finish the board – Sand with 120-grit, then 220-grit. Wipe off dust with a tack cloth. Apply primer or stain sealer, let dry, then sand lightly with 220-grit again. Apply two top coats. For painted boards, use a foam roller for a smooth finish.
- Attach brackets or cleats to the wall – Follow the bracket kit instructions. Typically, you will mark the bracket locations based on stud spacing. Use a level to ensure the brackets are at the same height. Pre-drill pilot holes and drive the screws into the studs. Do not overtighten. If the wall is uneven, slip a shim behind the bracket to level it.
- Level and secure – Check the brackets with your level in both directions. If one is high, loosen the screws and adjust the shim. Tighten everything down.
- Mount the shelf onto the brackets – Depending on the kit, the shelf either slides onto the brackets or screws into them from below. Push the shelf firmly into place. If the fit is tight, use a rubber mallet to seat it.
- Test stability – Press down on the front edge. There should be no movement. If the shelf wobbles, check your bracket screws and shims again.
I’ve seen people skip the pre-drilling step and crack their shelf board within five minutes. Pre-drilling takes thirty seconds and prevents a trip back to the lumber yard. Don’t skip it.
Common Mistakes to Avoid When Installing a Floating Shelf
- Failing to find studs – Drywall anchors alone are not strong enough to hold a floating shelf. Over time, the weight of clothing and bins will pull the shelf out of the wall. Always mount into at least one stud. For wider shelves, two or three studs are better.
- Using the wrong anchors for drywall – If you absolutely must mount into drywall (say the studs are too far apart), use toggle bolts rated for the shelf weight. Plastic expansion anchors will fail.
- Not checking level multiple times – One level check is not enough. Check the brackets before mounting, check the shelf after installation, and check again after loading it. Walls settle, and lumber can twist slightly.
- Overloading the shelf beyond bracket capacity – Read the bracket’s weight rating and subtract 20 percent as a safety margin. A shelf rated for 50 pounds should hold no more than 40 pounds in daily use. Overloading is the most common cause of sagging and wall damage.
- Skipping pre-drilling – Screwing directly into hardwood or plywood can split the board. Pre-drill with a bit slightly smaller than the screw diameter to prevent this.
How Much Weight Can a Floating Closet Shelf Hold?
This is the question I get most often, and the answer depends on three factors. The first is the bracket rating. Most hidden steel brackets are rated for 20 to 50 pounds per pair. The second factor is the wall type. A shelf screwed into two studs can hold significantly more than one relying on drywall anchors. The third factor is the shelf material. Solid wood and thick plywood hold their shape under load better than MDF or thin boards.
For a typical closet shelf, expect a realistic range of 20 to 50 pounds. That is enough for folded sweaters, jeans, and small decorative bins. If you plan to store heavy shoe boxes or stacks of denim, consider upgrading to a heavier bracket kit or using a visible support system. I’ve seen a thin MDF shelf sag and pull away from its brackets because someone loaded it with books. Know what you will store, and choose your materials accordingly.

Floating Shelf vs. Fixed Shelf: Which Is Better for Your Closet?
If you are deciding between a floating shelf and a fixed shelf, here is the breakdown. A fixed shelf sits on visible brackets or a ledger board. It is simpler to install, stronger under load, and less sensitive to wall conditions. The tradeoff is appearance. The brackets are always visible, and the shelf does not have that seamless built-in look.
A floating shelf offers the modern, clean appearance that works well in closets with glass doors or open fronts. It also feels less cluttered because you see only the shelf and the items on it. The downsides are lower weight capacity and a more demanding install. If you have a narrow closet or one with irregular stud spacing, floating shelves become harder to position.
My rule of thumb: If the closet is for display, folded basics, or accessories, go floating. If you need heavy-duty storage for tools, boots, or bins, go fixed. I’ve used both in the same closet occasionally, putting floating shelves on upper sections for lighter items and fixed shelves at waist height for heavy bins.
Finishing and Styling Your Custom Shelf
Once your shelf is installed, the last step is finishing the surface. If you painted before installation, you may need a touch-up coat along the edges where the shelf meets the wall. Use a small brush to blend the paint onto the wall for a seamless transition.
If you stained the shelf, apply a final coat of polyurethane for durability. Closet shelves get bumped and rubbed more than living room shelves, so a protective layer is worth the extra hour of work.
For styling, keep the shelf surface defined. Use open bins or baskets to organize items, but leave some space visible to preserve the clean look. Shelf liners are helpful for delicate fabrics, but they are optional. If you want a consistent look, coordinate your bins with the shelf finish. Otherwise, let the shelf itself be the statement.
Frequently Asked Questions
Can I install a floating shelf without a stud finder?
Yes, but it is riskier. You can locate studs by tapping the wall and listening for a solid sound, or by knocking and measuring from corners. But a stud finder is inexpensive and eliminates guesswork. I recommend buying one.
How long does it take to build and install?
Plan for a full afternoon. Cutting and finishing the board takes about two hours plus drying time. Mounting the brackets and shelf takes another hour. If you finish over two days, you can paint the first day and install the next.
Can I use a floating shelf as a shoe rack?
Yes, as long as you keep the weight reasonable. A shelf rated for 40 pounds can hold a few pairs of everyday shoes. For a full shoe collection, choose a deeper shelf and a higher-rated bracket kit.
Do I need to sand before painting?
Yes. Sanding smooths the surface and gives the paint something to grip. Skip this step, and the paint may peel or chip within months.
What is the best wood for a painted floating shelf?
Cabinet-grade birch or maple plywood is the best choice. It paints smoothly without visible grain and resists warping. Solid poplar is also good but costs more.
Ready to Build Your Own? Gather Your Supplies Here
You now have the full process, from measuring to final styling. The key steps are marking studs, choosing the right materials, and leveling your hardware. These are simple tasks, but each one matters. A well-built floating closet shelf can completely change how your closet looks and feels for years to come.
Ready to get started? Find your materials here. You can find hidden bracket kits, high-quality plywood, and finishing supplies through the links below. They come from suppliers I have used and trust.