How to Optimize Vertical Space in a Tall Walk-In Closet
The Problem With Fixed Shelving and How to Fix It
Fixed shelves are usually the biggest obstacle to good vertical storage in tall closets. They look neat when the house is staged, but once you actually live there, they force you to stack things in ways that waste a lot of height. You’ll almost certainly end up with a 10-inch gap above a pile of sweaters that could easily hold another row of bins.
The real issue is that built-in shelves aren’t placed with your specific clothes in mind. A shelf at 48 inches might work fine for folded jeans but be useless for boots. Another at 72 inches could be too low for long dresses and too high for shirts.
There are a few practical ways around this, and the best option depends on whether you rent or own and how much work you want to do.
Shelf risers are the simplest fix. They’re basically small platforms that sit on existing shelves and create a second level. They work well for shoes, folded sweaters, or handbags. The tradeoff is they reduce usable depth, so they’re best for smaller items.
Tension shelf dividers let you split a tall shelf into vertical compartments. This helps when you have stacks of items that keep falling over, like jeans or towels. No drilling required, and you can move them around whenever you want.
Retrofitting adjustable tracks is the most permanent and effective option. You take out the fixed shelves, install vertical tracks along the back wall, and attach shelf brackets wherever you want. You’ll need a level, a drill, and some wall anchors, but the result is a fully customizable system. It’s a weekend project if you have moderate DIY experience.
If you own the home, replacing fixed shelving with adjustable tracks is usually worth the effort. It future-proofs the space when your storage needs change. If you’re renting, stick with risers and tension dividers. They’re less permanent but still fix the main problem without damaging walls.
The honest tradeoff is between convenience and customization. Fixed shelves require no effort to maintain, but they force your storage to fit arbitrary heights. Adjustable systems take more planning and installation, but they let the closet work for you instead of the other way around.
Using the Full Height for Long-Item Storage
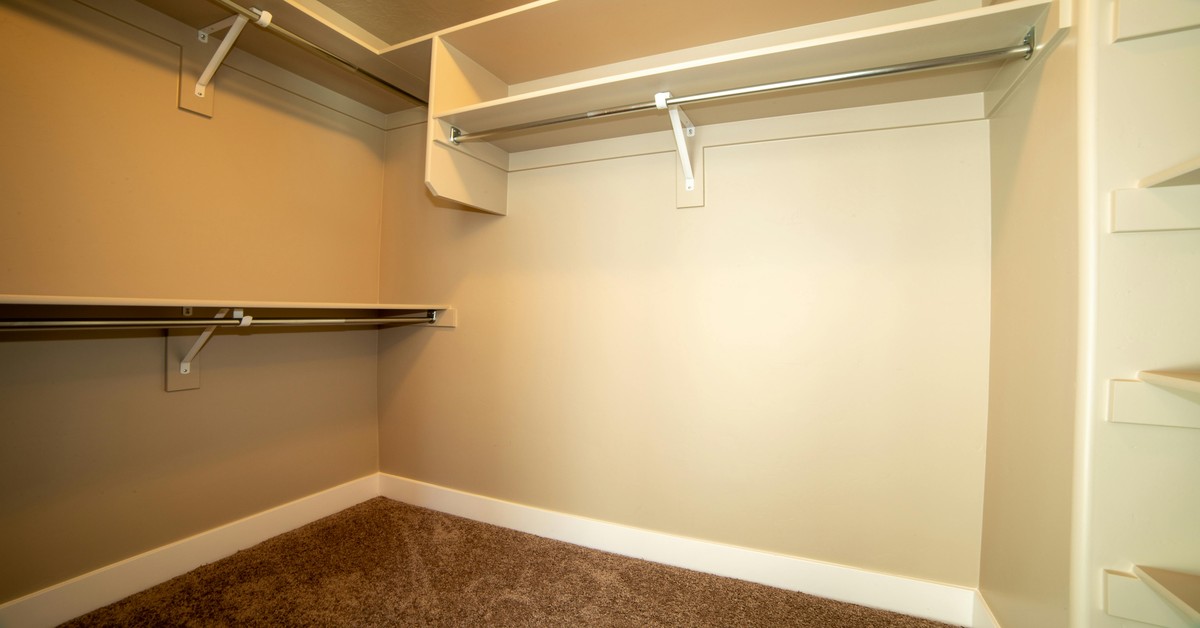
Not everything in your closet folds into neat 12-inch stacks. Long dresses, winter coats, trench coats, and full-length pants need vertical clearance that most closets don’t naturally provide. The mistake is trying to fit these items into sections that are too short, which usually means dragging hems or crowded rods.
The fix is to dedicate one vertical column of your closet specifically to long items. This column should be at least 48 inches wide to prevent crowding, though 36 inches can work in smaller closets. Set the hanging rod so the longest garment hangs at least 2 inches above the floor. For most people, that means the rod sits between 72 and 84 inches off the ground.
Telescoping rods are useful here because you can adjust them to fit your exact space without cutting. They’re also easy to install and remove if you need to reconfigure later. If you need a quick solution, telescoping closet rods are worth looking at.
Vertical hooks mounted on the inside of closet doors or an empty wall section can hold belts, scarves, ties, and even lightweight jackets. They keep these items off the hanging rod and free up vertical space for longer garments.
Hanging pant racks that use multiple clips on a single hook are great for keeping pants wrinkle-free while using minimal rod space. They hang vertically, so they don’t crowd the rod width, but they do need enough clearance below to avoid hitting lower shelves.
A common beginner mistake is trying to use the long-item section for both knee-length and floor-length garments. If you have a mix, you’re better off installing the rod at the height that fits your longest items and using the space below for shoe storage or a small step stool. Don’t try to double-hang above long coats—it rarely works and just creates frustration every time you need a coat.
This section doesn’t need to be large. A 24-inch-wide column is usually enough for most households. The key is to give it its own dedicated rod and not clutter it with short hanging items. Respect the vertical clearance, and your long garments will stay in better shape.
Vertical Closet Storage Mistakes to Avoid
Even with good intentions, it’s easy to make mistakes when optimizing vertical closet storage. Here are the ones I see most often, along with practical ways to avoid them.
Ignoring Ceiling Height
Many people assume that if they can’t reach the top shelf, it’s worthless. But the upper zone is one of the most valuable parts of a tall closet. The mistake is leaving it empty or filling it with random clutter. Use it for seasonal items, extra bedding, or luggage. If you can’t reach it, get a step stool or install a pull-down system. A pull down closet shelf can make high spaces accessible.
Overloading Upper Shelves With Heavy Items
Upper shelves, especially in older homes, may not be built to support heavy loads. Loading them with stacks of books, heavy bins, or multiple suitcases can cause sagging or structural failure. Check the weight rating of your shelves and spread heavy items across lower, more stable zones.
Using Too Many Small Bins
Small bins and baskets are tempting because they look tidy, but they fragment vertical space. A row of six small bins on a high shelf leaves gaps between them and wastes height. Instead, use fewer, larger bins that maximize the full depth and height of the shelf. This reduces visual clutter and increases usable storage.
Forgetting About Lighting in Dead Zones
Tall closets often have deep shadows at the top and bottom. If you can’t see what’s on a high shelf or behind a hanging row, you’re less likely to use that space effectively. Install battery-operated puck lights, LED strip lights, or motion-sensor lights to illuminate dead zones. It’s a small investment that makes a big difference in usability.
Not Accounting for Seasonal Rotation
Many people pack their entire wardrobe into the same vertical zones year-round. This leads to overcrowding and wasted space. Design your vertical storage with seasonal rotation in mind. Use the upper zone for out-of-season items, the middle zone for current wardrobe, and the lower zone for daily accessories. Rotate twice a year, and your closet will always feel organized.

Tools and Accessories That Make Vertical Storage Work
A few well-chosen tools and accessories can dramatically improve how you use vertical closet storage. These aren’t flashy gadgets, but practical items that solve real problems.
Step stools. A foldable two-step stool is essential for reaching high shelves in a tall closet. Look for one with rubber feet to avoid slipping and a weight capacity that suits your needs. Some are designed to fold flat and store behind the door. A folding step stool for closet can be a simple addition that solves access issues.
Shelf dividers. These keep stacks of folded items from tipping over. They slide onto existing shelves and create individual vertical compartments. They’re inexpensive and easy to install without tools.
Label makers. Labels on bins and baskets make it easy to find what you need without pulling everything down. In a tall closet, where visibility is limited from ground level, labels are especially useful. Choose a simple label maker and use clear, bold text.
Sliding hooks. These attach to hanging rods and allow you to slide items left or right without removing them. They’re great for belts, scarves, and ties because they keep items visible and accessible.
Small tension rods. These can be installed horizontally or vertically inside a shelf opening to create custom dividers. Use them to separate purses, sort folded towels, or create a dedicated spot for cleaning supplies.
Each of these tools solves a specific friction point. You don’t need all of them, but picking the ones that match your biggest challenges will make your vertical storage far more effective.
Planning Your Vertical Layout: A Step-by-Step Approach
Going in without a plan is the fastest way to end up with a closet that looks full but functions poorly. A structured approach saves time and prevents costly mistakes. Here’s how to plan your vertical closet storage layout in five steps.
Step 1: Measure your space and note ceiling height. Write down the width, depth, and height of your closet. Mark the location of any fixed shelves, rods, and outlets. Knowing the exact dimensions will help you choose components that fit without guesswork.
Step 2: Categorize items by frequency of use and length. Make three piles: daily wear, occasional wear, and seasonal or rarely used items. Also separate long items (coats, dresses) from shorter items (shirts, pants, folded sweaters). This gives you a clear picture of how much space each category needs.
Step 3: Map out zones on paper or a digital tool. Draw a rough sketch of your closet floor plan and mark the three height zones: lower (0-36 inches) for shoes and accessories, middle (36-72 inches) for daily hanging and folded items, upper (72+ inches) for seasonal and long-term storage. Assign each category to a zone. Use painter’s tape on the wall to visualize the zones before you buy anything.
Step 4: Choose adjustable components over fixed ones. Whenever possible, select adjustable rods, shelves, and brackets. They allow you to fine-tune spacing later as your needs change. Fixed components lock you into one configuration, which rarely works perfectly.
Step 5: Install in phases. Start with the middle zone—it’s where you’ll interact most. Get the hanging rods and shelves at the right height for your daily items. Then move to the upper and lower zones. Install step stools or pull-down systems for upper access, and shoe racks or bins for the lower zone. Test each phase for a week before moving on. This lets you adjust before you commit to the full layout.
Here’s a real-world example: I worked with a reader who had a 10-foot-tall closet. She started by installing a double-hanging rod system at 42 and 72 inches for daily shirts and pants. She added a pull-down shelf at 84 inches for out-of-season sweaters, and a foldable step stool to access the top shelf at 10 feet for luggage. The lower zone held a shoe rack and accessory bins. Within two weekends, she had a fully functional closet that used the entire height without feeling overwhelming.
Planning takes effort up front, but it pays off every day you use the closet. Don’t skip the measurement and categorization steps—they’re what separates a functional layout from a frustrating one.
When to Call a Professional vs. DIY
Not everyone is comfortable with power tools, and not every project is suited for a weekend warrior. Knowing when to DIY and when to hire a professional is a skill in itself.
DIY is a good fit when:
- You’re adding shelves using existing tracks or wall anchors
- You’re installing tension rods or modular cube systems
- You’re retrofitting adjustable tracks into an existing closet
- You have basic tool skills and a willingness to measure twice
Call a professional when:
- You need to move load-bearing walls or change electrical outlets
- You’re installing heavy pull-down systems that require ceiling reinforcement
- You have complex custom built-in designs that need precise carpentry
- You’re not comfortable with drilling into studs or mounting brackets securely
The honest tradeoff is cost versus control. DIY is cheaper and gives you full flexibility, but it takes time and requires some skill. Professionals are faster and handle structural issues, but they cost more and may have a specific vision that doesn’t match yours.
For most homeowners, a hybrid approach works best. DIY the easy parts—like adding bins, shelf dividers, and tension rods—and hire a pro for the heavy lifting, like installing custom closet systems or modifying walls. This keeps costs down while ensuring the structural work is done right.
Final Thoughts: Making Your Vertical Storage Last
Optimizing vertical closet storage isn’t about buying the most expensive system or filling every inch with bins. It’s about creating a layout that works with your habits, not against them. Zone by height, prioritize adjustability, use the right accessories for your specific needs, and avoid the common pitfalls we covered.
The best vertical storage is the one you actually use. If you design it with your daily routines in mind, you’ll find that even a tall closet becomes a comfortable, efficient space. Don’t rush the planning phase, and don’t be afraid to adjust as you go. A well-designed closet evolves with you.
Ready to get started? Browse the storage solutions mentioned above and start transforming your closet today. Your future self will thank you every morning.
