Designing a Traditional Walk-In Closet with Crown Molding
Introduction
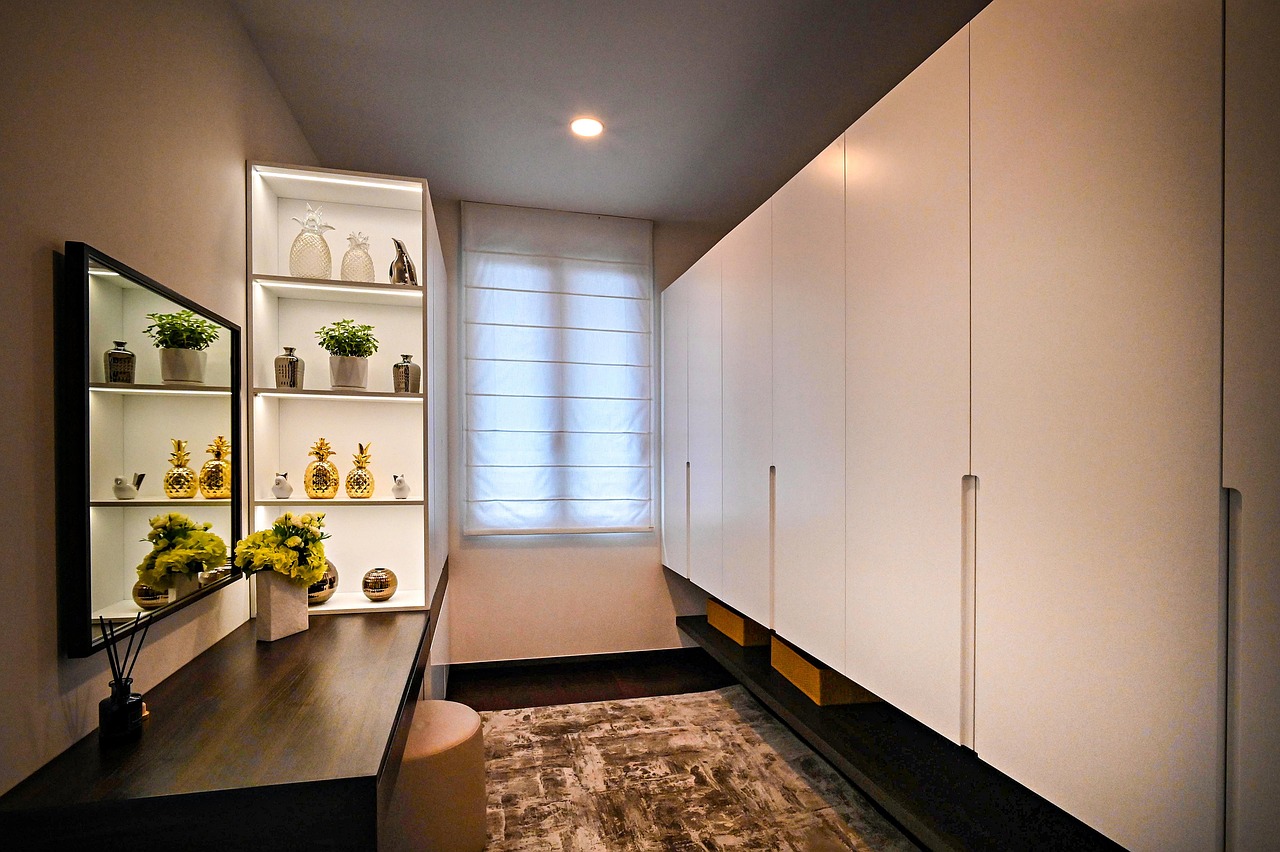
A well-designed traditional walk-in closet is more than a storage room—it’s a daily luxury, a functional space that sets the tone for your morning and evening routines. When you add crown molding, you’re not just organizing clothes; you are investing in architectural character that transforms a simple closet into a room you’re proud to step into. This article is for homeowners, DIY enthusiasts, and interior design lovers who want to plan and create a traditional walk-in closet that feels both classic and personal. We will cover crown molding profiles, storage systems, finishes, lighting, and common pitfalls, all with an eye on combining aesthetic choices with real-world storage needs. Let’s get into the details that separate a standard closet from a genuinely designed space.

Why Crown Molding Defines a Traditional Walk-In Closet
Crown molding is the architectural punctuation mark of a room. In a traditional walk-in closet, it does more than fill the gap where wall meets ceiling—it establishes the entire design language. Decorative trim in homes can be traced back to 18th-century paneling and Victorian-era detailing, where rooms were meant to be experienced as complete compositions, not just utilitarian boxes. When you install crown molding, you’re carrying that tradition forward in a space often overlooked for such care. The result is a closet that feels intentional, finished, and elevated. Without it, even the most organized closet can feel like a repurposed spare room; with it, you get a space that looks expensive and thoughtful, regardless of your budget. It separates a room that looks ‘good enough’ from one that feels ‘designed.’
Planning Your Layout: Built-in vs. Modular Systems
Before you choose a single piece of trim, you need a layout strategy. The two primary routes are custom built-ins and modular or semi-custom systems. Neither is universally better—the right choice depends on your space, skill level, and design ambition.
Custom built-ins are the gold standard for a traditional look. They are built on-site to match your exact dimensions, which means they can accommodate uneven walls, vaulted ceilings, or awkward corners. This also allows seamless integration with crown molding because the trim can run continuously from the wall into the cabinetry, creating a unified architectural detail. The cost, however, is higher—often $5,000 and up depending on materials and labor—and the timeline is longer. You’ll also need a skilled carpenter or cabinetmaker who understands traditional proportions.
Modular or semi-custom systems (like those from The Container Store, IKEA with custom doors, or Closet Factory) are more accessible for the DIYer. They offer flexibility in layout, are generally less expensive (starting around $500 for a basic setup), and can be installed over a weekend. The tradeoff is that crown molding integration requires more finesse. You can still add crown molding to the room itself, but it won’t flow into the modular units as naturally. To compensate, consider using a separate crown molding near the ceiling and keeping the modular units unpainted or with a matching base trim. If you’re a renter or plan to move within a few years, modular is the smarter play. For homeowners who want a true period look and have the budget, built-ins are hard to beat.
Selecting the Right Crown Molding Profile and Wood Type
The crown molding profile you choose will define the traditional feel of the closet. You’re not just picking any trim—you’re selecting the character of the room.
- Ogee profile: This S-curve style is a classic traditional choice, often found in Victorian and Colonial homes. It’s ornate and works well in larger closets where the detail can be appreciated. Best for a pure, period-correct look.
- Cove profile: A softer, concave curve. It is simpler but still elegant, making it ideal for smaller closets or transitional spaces. It doesn’t overwhelm the room. Best for a clean, understated traditional feel.
- Stepped profile: Angular and layered, this offers a more geometric look. It can be very effective in modern interpretations of traditional design, and it works well with painted finishes. Best for mixing older and newer design elements.
For wood type, poplar is the go-to for painted trim because it’s affordable and takes paint well. Oak is tougher and shows grain beautifully if you want a stained finish, but it’s harder to install and can be expensive. MDF (medium-density fiberboard) is the most popular choice for DIYers—it’s stable, doesn’t warp, comes pre-primed, and cuts cleanly. For a traditional walk-in closet, pre-primed MDF in a cove or ogee profile offers the best balance of cost, ease, and appearance. If you are staining, go with poplar or oak.
Lighting Choices That Enhance Mold and Trim
Lighting can either highlight your crown molding or wash it into the shadows. To make the trim pop, you need the right bulbs and fixtures.
Ambient lighting should come from a ceiling-mounted fixture. A small chandelier or a semi-flush mount in a classic finish (like aged brass or oil-rubbed bronze) adds immediate traditional gravitas. For those looking for classic options, there are many traditional chandelier choices that can set the right tone. Choose bulbs with a color temperature of 2700K to 3000K—this range provides a warm, welcoming glow that makes white or cream molding appear crisp without looking clinical.
Task lighting is just as important. Use LED strip lighting under shelves or inside cabinets to illuminate clothes and accessories. But be careful with placement: if the strips are too bright, they can cast light upward and create harsh shadows on the molding. Install them a few inches from the front edge of the shelf so they illuminate the floor below without reflecting directly off the ceiling trim. Dimmer switches are a worthy addition—they let you adjust the mood from bright and functional to softly dramatic. Keep all fixture finishes consistent with your hardware and molding style for a cohesive look.
Storage Components That Fit a Traditional Aesthetic
Storage components need to be chosen with an eye for visual harmony, not just function. A traditional walk-in closet thrives on symmetry and visible craftsmanship.
- Drawers with inset panels: Flat panels are too modern; opt for raised or recessed inset panels that feel like furniture. These can be painted to match the molding or stained to stand out.
- Open shelving with corbels: Brackets under open shelves should be decorative, not just functional. Wood corbels in a classic shape add architectural weight and make shelves look built-in. Homeowners looking for decorative brackets can explore decorative wood corbels to achieve that effect.
- Hanging rods with finial ends: Standard closet rods are fine, but swapping them for rods with decorative end caps (like brass or turned wood finials) is a simple upgrade that changes the entire feel.
- Shoe cubbies and tie racks: These should be integrated into the cabinetry, not freestanding bins. Use the same wood and finish as the rest of the closet.
A common mistake here is choosing hardware that clashes. Brushed nickel bar pulls are too modern and will look out of place against crown molding and traditional cabinetry. Instead, choose classic brass, oil-rubbed bronze, or polished nickel with a classic shape—like a round knob or a bin pull. This small detail either ties the room together or pulls it apart.

Material and Finish Selection: Painted, Stained, or Mixed
Finish choice is where the plan becomes real. Crown molding and cabinetry can be painted, stained, or a mix of both, and each has its own tradeoffs.
Painted white or cream is the safest and most common choice for a traditional walk-in closet. It provides a clean backdrop for clothing and makes the space feel larger and brighter. Painted finishes also show fewer scratches over time compared to stained wood, which is a practical advantage in a high-traffic closet. However, cheaper paints can yellow, especially with insufficient ventilation. Invest in a quality 100% acrylic paint in a semi-gloss or satin sheen for durability.
Stained wood—like cherry, mahogany, or oak—adds warmth and richness, but it’s less forgiving. It requires periodic oiling and careful selection of wood grain, and it can darken a small closet. It is best reserved for very large walk-ins or for lower cabinetry only where it anchors the space.
A mixed approach—painted crown molding and upper shelving with stained lower cabinetry—offers depth and visual interest. The light paint on top keeps the room feeling airy, while the darker wood grounds it. This approach works well in transitional spaces that blend traditional and modern elements.
Common Mistakes When Adding Crown Molding to a Closet
Even experienced DIYers make predictable errors with crown molding in small spaces. Here are the most frequent ones and how to avoid them.
- Mismatching scale: A large, ornate profile in a small closet will look top-heavy and claustrophobic. In a walk-in under 8 feet by 8 feet, stick to a profile under 4 inches tall.
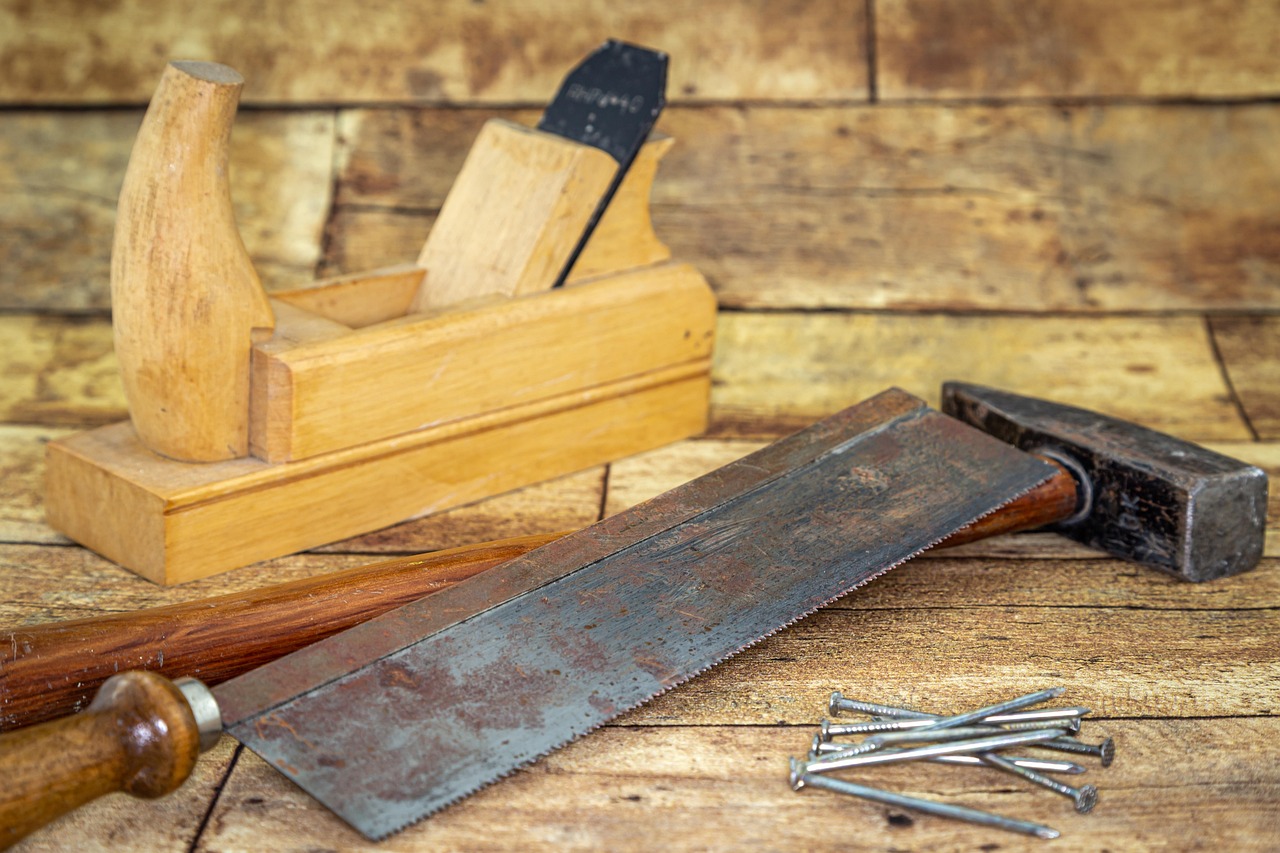
- Ignoring corner angles: Standard corners are rarely exactly 90 degrees. Failing to cope inside corners will leave unsightly gaps. Always use a coping saw for inside corners to get a tight, professional fit.
- Installing after shelves: It might seem logical to finish the shelving first, but if you install molding after the cabinetry is up, you will have to cut around it, creating awkward seams. Install crown molding on the walls first, then build the closets systems to meet it.
- Too ornate a profile: A detailed Victorian profile can over-clutter a small space visually. Simpler profiles (cove, stepped) are more forgiving and easier to install.
Using return blocks for inside corners is a professional trick that saves time and reduces frustration. They are simple triangular pieces that fill the gap where molding meets the wall—no coping required.
Budgeting for a Traditional Closet: Cost vs. Value
Creating a traditional walk-in closet with crown molding is an investment, but it doesn’t have to break the bank. Here is a realistic breakdown of what to expect.
- Materials only (DIY): Pre-primed MDF crown molding runs $1–$3 per linear foot. Shelving, rods, hardware, and paint can add up to $500–$1,500 for a small to medium closet.
- Professional installation (plus materials): Adding labor for carpentry and cabinet installation typically runs $1,500–$4,000. Crown molding alone costs $400–$800 in labor for an average walk-in.
- Custom built-ins (turnkey): Expect $5,000–$12,000+ for a fully custom closet with high-end materials, integrated lighting, and painted or stained finishes.
- Electrical work: Adding a new light fixture or outlets is $200–$500 depending on complexity.
The return on investment for a closet remodel varies. Real estate experts often cite a 50%–70% ROI at resale, but the real value is in daily enjoyment. Do not overspend on a closet in a home you plan to sell within two years; focus on quality materials and timeless design instead of trendy features.
DIY Installation of Crown Molding: What You Need to Know
Installing crown molding yourself is achievable if you are comfortable with basic power tools. Here is an honest look at what it involves.
You will need a miter saw for straight cuts, a coping saw for inside corners, a nail gun (a 16-gauge or 18-gauge finish nailer is ideal), a measuring tape, a level, and paintable caulk for hiding gaps. The process begins with careful measurement—always measure from the outside corner or the longest wall to minimize waste. Cut your pieces for the first run, then cope the inside corners by cutting at 45 degrees and trimming the excess with the coping saw. This sounds intimidating, but with practice, it’s the most reliable way to get a seamless fit.
Common pain points include uneven walls (use shims and caulk to correct gaps) and achieving a flat, consistent angle for coped joints (a sanding block helps). If your walls bow significantly, a pro might be a better choice. Here’s a decision rule: if you have never used a nail gun or coping saw before, practice on scrap molding first. If you cannot achieve tight joints after a few tries, hire a finish carpenter for that part of the job.

Hardware and Accessories to Complete the Look
Once the structural elements are in place, it’s time for finishing touches. Hardware and small accessories can elevate the space from nice to stunning.
For cabinet knobs and pulls, solid brass in unlacquered or polished finishes is a classic choice that ages beautifully. Oil-rubbed bronze adds a darker, more rustic feel. Avoid zinc or aluminum options that feel cheap. When selecting knobs, consider searching for traditional brass cabinet knobs to find options that complement crown molding. Add a valet hook near the door for hanging tomorrow’s outfit; choose a solid brass hook with a simple, traditional shape. Felt-lined jewelry drawers are a worthy splurge—they protect valuables and look luxurious. For hangers, velvet hangers in a single color (like charcoal or ivory) create a uniform, sleek look that complements traditional styling. Save money on basic shoe racks and tie organizers by buying standard felt organizers, but invest in solid brass hardware and quality lighting.
Traditional vs. Transitional: When to Modify the Style
Not every home calls for pure traditional style. Here’s a simple way to decide: traditional is ornate, symmetrical, and often uses dark woods or elaborately painted surfaces. Transitional blends traditional elements—like crown molding—with cleaner lines and less ornamentation. If your home has modern architecture or you prefer a less cluttered look, a transitional approach with a simpler crown molding profile (like cove), mixed materials, and a neutral color palette might be a better fit. Crown molding works beautifully in both styles, but the scale and finish will differ. A broad ogee profile in dark wood says ‘traditional.’ A clean stepped profile in white says ‘transitional.’ Your home’s existing architecture should guide the choice.
Maintenance Tips for Crown Molding and Classic Cabinetry
Keeping your closet looking its best is straightforward. Dust crown molding every few months with a microfiber duster or a vacuum attachment. If you see gaps or cracks in the caulking, apply a fresh bead of paintable caulk and repaint the affected area—this prevents moisture damage and keeps the look pristine. For painted surfaces, a damp sponge and mild soap are sufficient for cleaning. If you opted for stained wood, plan to reapply a protective oil or sealant every two to three years to prevent drying and cracking. Hardwood trim may also need occasional polishing. Stick to a simple routine, and your closet will stay looking new for years.
Final Thoughts: Designing a Closet That Lasts
Building a traditional walk-in closet with crown molding is about investing in a space that will serve you well for decades. Start with a clear plan, choose materials that age gracefully, and don’t overlook the small details—like proper lighting, classic hardware, and a thoughtful finish palette. A well-executed closet is not just a luxury; it is a daily reward. Ready to start designing your dream traditional walk-in closet? Explore our expert guides on layouts, lighting, and finishing touches.