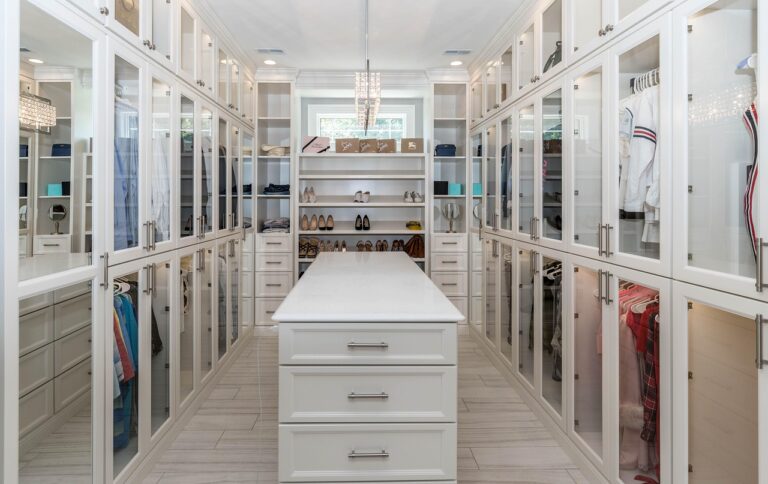
How to Build a High-Tech Walk-In Closet with Smart Mirrors and Lights
Introduction
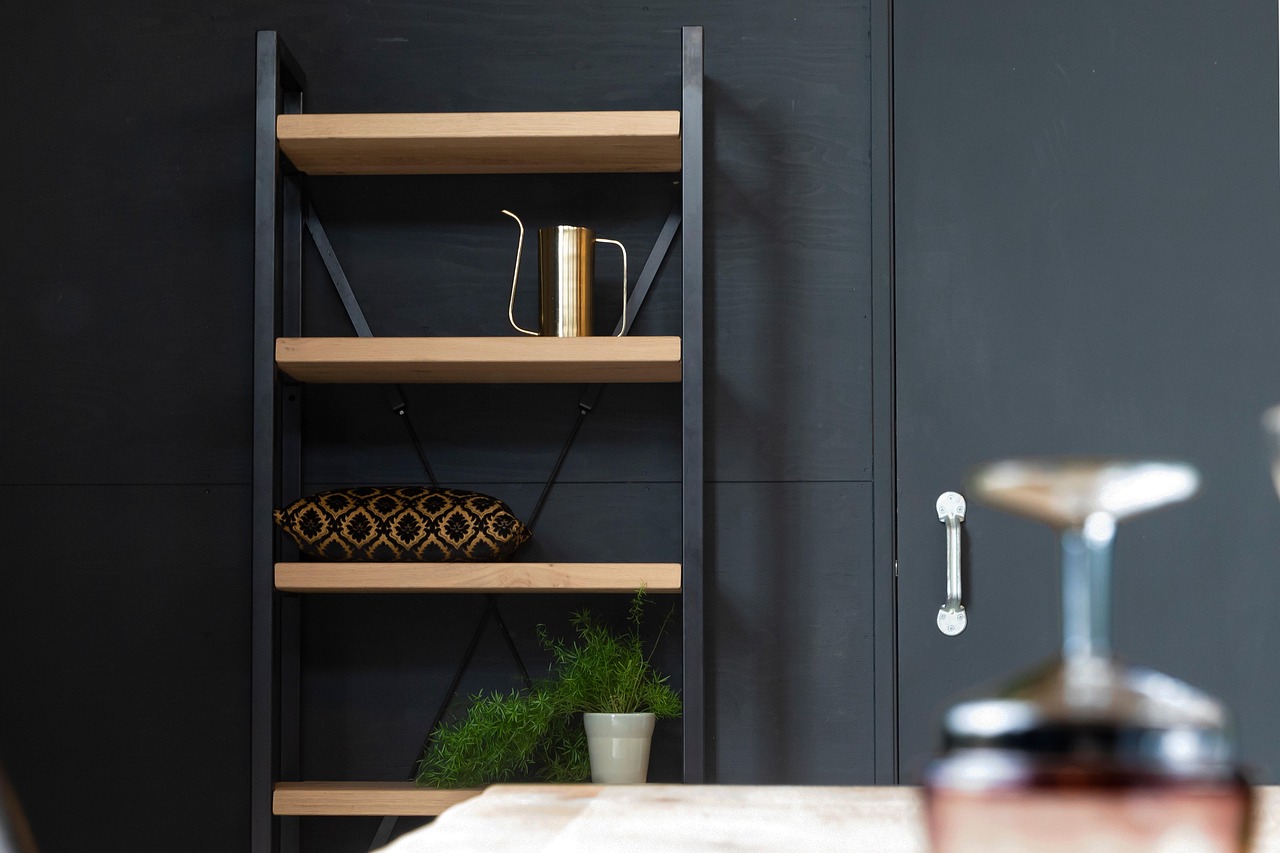
For a long time, a closet was pretty simple. Nice lighting if you were lucky, maybe some cedar shelves. But the idea of a high-tech smart closet felt like something for tech moguls or people with walk-ins the size of a studio apartment. That’s shifted. These days, putting together a high-tech smart closet with smart mirrors and automated lighting isn’t just possible—it’s one of the more satisfying home upgrades you can do.
I spent the last year converting my own standard reach-in closet into a high-tech smart closet. It took planning, but the payoff has been solid. You get better organization, a morning routine that actually feels efficient, and energy savings you wouldn’t expect from a bunch of LEDs. This guide covers planning your layout, picking the right smart mirror, choosing lighting, and avoiding the pitfalls that’ll waste your time and money. Whether you’re a confident DIYer or planning to hire help, you’ll find what you need here.

What Makes a Closet High-Tech? The Core Components
Before you start shopping, it helps to understand what “high-tech” means in a closet context. Not every gadget adds value. Some are genuinely useful. Others are expensive gimmicks that look cool once and then gather dust.
Here’s what I consider the real core of a modern smart closet:
- Smart Mirrors: These aren’t just mirrors with lights around the frame. A true smart mirror is an interactive display. You get weather forecasts, daily calendar alerts, makeup tutorials, and even virtual try-ons for outfits. Some models track your skin health over time. The key is finding one that does what you actually need, not what a spec sheet lists.
- Automated Lighting: This goes way beyond a dimmer switch. Think motion sensors that turn on LEDs when you open the door, color temperature control that shifts from bright daylight in the morning to warm ambient light at night, and even lighting that follows you as you walk. Done right, it makes the closet feel responsive, not just lit.
- Smart Storage: This is where tech meets organization. Pull-out valet rods that weigh your clothes and tell you which outfit you wore last. Shelves with weight sensors that remind you when an item is missing. Inventory apps like StyleBook that let you scan your wardrobe and build outfits digitally. Some of this is genuinely useful for people with massive collections. For the average person, a basic inventory app and a few smart hangers might be enough.
The trade-off with smart storage is cost versus utility. A full smart shelving system can run thousands. A simple app and some RFID tags is under $50. If you’re just starting, focus on the mirror and lighting first. Those give you the most daily benefit. Then add smart storage pieces as your budget allows. The biggest mistake is buying everything at once and realizing half of it doesn’t fit your routine.
Planning Your High-Tech Smart Closet Layout
Planning is where most people either succeed or fail. I’ve seen gorgeous closets ruined because someone forgot about wiring until everything was built. And I’ve seen modest spaces become incredibly functional because the layout was thoughtful.
Start by measuring your space carefully. Not just the floor area, but wall heights, door swings, and ceiling fixtures. You need to know where everything fits before you buy anything. Then, map out zones:
- Hanging zone – space for long garments, short garments, and double-hung if possible.
- Folding zone – shelves or drawers for sweaters, jeans, t-shirts.
- Shoe zone – angled shelves, cubbies, or racks. Measure your tallest boots.
- Accessory zone – ties, belts, watches, jewelry. Drawers with dividers work well.
- Tech zone – where the smart mirror will sit, where lighting controllers go, where you charge devices.
Here’s a common mistake: people plan the zones but forget the tech. A smart mirror needs a power outlet nearby, ideally within 3 feet. LED strip controllers need a hidden spot or a shallow box. Motion sensors need clear lines of sight. If you’re building shelves, run low-voltage wiring before you install the shelves, not after. I learned this the hard way, having to cut into a brand new shelf to hide a wire. Save yourself the headache. Plan your exit strategy for cables before you start cutting wood. A low-voltage wiring kit can make this step much cleaner.
Also, think about ventilation. Electronics generate heat, especially if you install multiple smart mirrors or a central hub. A small closet can trap heat and shorten the life of your devices. A passive vent near the top or a small USB fan can make a real difference.
Choosing the Right Smart Mirror: Features to Look For
The smart mirror is the centerpiece of any high-tech smart closet. It’s the thing that guests notice and the thing you use every morning. But not all smart mirrors are created equal. I’ve tested three different models over the past year, and here’s what I’ve learned.
First, consider your primary use case. Are you a makeup enthusiast who needs perfect lighting and skin analysis? Or someone who just wants weather and calendar info while getting dressed?
- Best for fitness tracking: The HiMirror Plus series includes skin analysis, body measurements, and a daily skin score. It costs around $300–$400. The touchscreen is responsive, and the camera is surprisingly good. It’s not cheap, but if you’re serious about grooming, it’s a solid option.
- Best for makeup and grooming: The Simplehuman Sensor Mirror Pro is expensive ($450–$600), but it’s the gold standard for color temperature and brightness. It adjusts automatically based on ambient light. No touchscreen, but the sensor and app integration are top-tier. The anti-fog feature is genuinely useful if you run the shower before getting dressed.
- Best budget option: There are no-name smart mirrors on Amazon for under $200. They’re basically mirrors with basic LED lights and a Bluetooth speaker. They work okay, but the build quality isn’t great. If you’re on a tight budget, this is a workable placeholder. Just know you’ll want to upgrade later.
- DIY option: You can build your own two-way mirror with a monitor behind it. This is advanced, but if you’re technical, it’s a fraction of the cost. The trade-off is complexity and potential glare issues.
When evaluating, ignore marketing fluff like “AI-powered” unless it actually does something useful. Focus on: anti-fog (whether it works well), touchscreen responsiveness, weather integration, and whether it supports your smart home ecosystem (Alexa, Google, or Apple HomeKit). Also, check the power requirements. Most smart mirrors need a dedicated outlet, and some require a GFCI if within 6 feet of a water source. Plan accordingly.
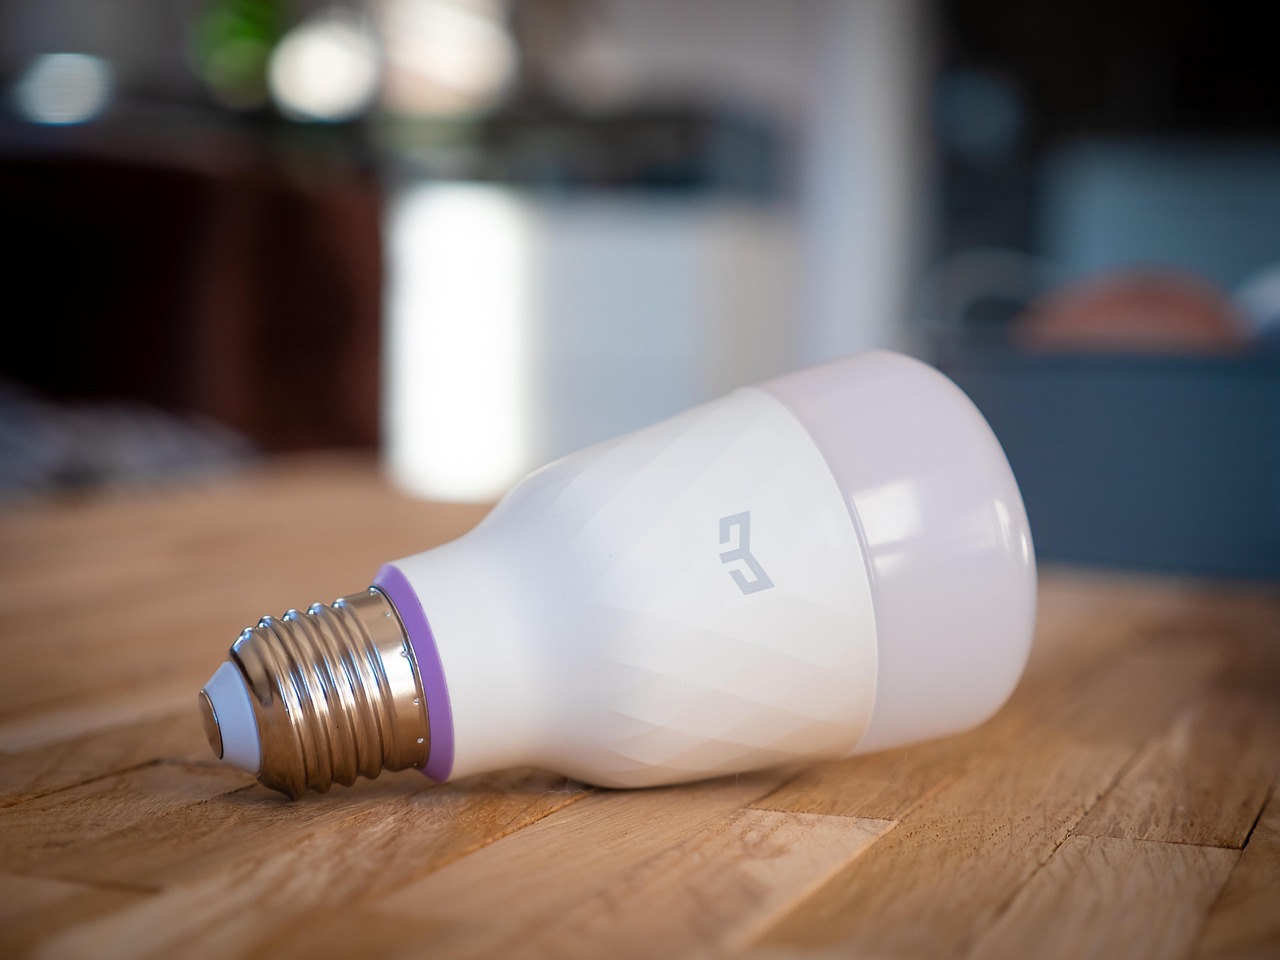
For a solid all-around choice that balances features and reliability, consider a smart mirror with interactive display. It has a good balance of functionality and price for most people.
Smart Lighting: LED Strips, Motion Sensors, and Color Temperature
Lighting is where you get the most bang for your buck. A well-lit closet feels twice as big and makes getting dressed noticeably easier. But smart lighting goes beyond just bright bulbs.
LED Strip Placement
The best approach is multiple layers. Under-shelf lighting illuminates folded items. Around-mirror lighting provides even, shadow-free selfies. Above the rod lighting ensures you can see garment colors accurately. Cob LED strips work well here because they’re energy-efficient and produce less heat than older designs. Place them in aluminum channels for a clean look and better heat dissipation.
Motion Sensors
This is where the smart part really matters. A good motion sensor turns on the lights when you open the door, keeps them on while you’re inside, and turns them off a minute after you leave. No fumbling for switches. The key is adjustable sensitivity and a timer delay. Some sensors are too sensitive and trigger from outside the closet. Others have a fixed 5-minute timer that wastes energy. Look for sensors that let you customize both.
Color Temperature
This makes a real difference. Smart LEDs let you shift from cool daylight (5000K) in the morning to warm ambient (2700K) in the evening. Morning light helps you wake up and see true colors. Evening light is relaxing. The best systems have a preset schedule that changes automatically. A smart LED strip with color temperature control is a solid choice here—it integrates with Alexa and Google and offers full control for a reasonable price.
Comparison: Wireless vs. Wired
| Feature | Wireless (Battery) | Wired |
|---|---|---|
| Installation ease | Very easy, no wiring | Requires electrical work |
| Cost | Lower upfront, batteries add up | Higher upfront, zero ongoing |
| Longevity | 2–3 years before battery swap | 10+ years |
| Design | Visible battery boxes | Clean, seamless |
| Best for | Renters or temporary setups | Permanent installations |
For a permanent high-tech smart closet, I’d go wired every time. The cleaner look and zero maintenance make it worth the extra work. If you’re renting, wireless is fine—just be ready to swap batteries every year or two.

Wiring and Power: What You Need to Know Before Installation
Wiring is the part most people ignore until they’re standing in a half-built closet with no power. Don’t be that person.
Here’s a realistic breakdown of electrical needs:
- Dedicated circuits: If you’re using multiple smart mirrors and a serious LED system, a dedicated 15-amp circuit is ideal. This prevents tripping breakers when you have everything on at once. If your closet shares a circuit with a bathroom, you might trip the GFCI.
- USB outlets: Install at least one USB outlet for charging watches, phones, or smart hangers. It’s cheap and incredibly useful. Buy a quality unit with fast-charging support.
- Low-voltage wiring: Smart mirrors often use low-voltage DC power. You can run that with a central transformer if you plan ahead. Otherwise, each mirror needs its own power supply brick, which gets messy.
- Wattage limits: A standard LED strip uses about 4–5 watts per foot. A five-foot closet all around uses 20–25 watts. Add a smart mirror (40–60 watts) and sensors (2–3 watts) and you’re at around 80 watts. That’s fine for most circuits, but if you have a lot of strips, it adds up. Do the math before you buy.
The common mistake: ignoring outlet placement. Code requires outlets within 12 feet of each other on walls, but closets often have no outlets at all. You may need to add one. If you’re not comfortable with electrical work, hire a licensed electrician. It costs maybe $150–$300 and saves you from a fire hazard.
Also, consider a smart switch. A smart switch on the wall gives you manual control even if the app fails. That’s a nice safety net.
Smart Storage and Organization: Beyond the Basics
Once lighting and the mirror are sorted, it’s time to think about storage that helps you stay organized. Smart storage doesn’t mean everything has to be motorized. It means things that work with your habits.
Here are the most useful smart storage options I’ve found:
- Smart hangers: Some hangers have built-in sensors that track what you’ve worn. They sync with an app to tell you how often you wear a shirt. It sounds gimmicky, but it’s useful for identifying clothes you should donate. A smart hanger with tracking sensors is a good example for those curious about wardrobe analytics.
- Pull-out valet rods with sensors: These rods weigh your outfit when you hang it up. The app logs the weight, so you can see if you’ve worn something recently. Overkill for most people, but great for suit collectors or people with large wardrobes.
- Weight-sensing shelves: These are rare and expensive. They’re cool for tracking how many pairs of jeans you have, but I wouldn’t prioritize them. A simple inventory app is more practical.
- Inventory apps: StyleBook and Cladwell are popular. You take photos of your clothes, tag them, and the app builds outfits. It helps you plan trips and avoid wearing the same thing twice. These apps cost $5–$10 a month and need no hardware. Best for budget-conscious organizers.
The trade-off with smart storage is clear: do you want to invest in hardware that tracks your clothes, or just an app that you maintain yourself? For 90% of people, the app plus some good shelves is enough. If you’re a shoe collector or someone with a serious wardrobe, the hardware might be worth the investment. Just don’t mistake cool for useful.
Integrating Voice Control and Automation
This is the cherry on top. Voice control makes your high-tech smart closet feel truly responsive. Walk in, say “Alexa, good morning,” and the lights brighten, the mirror displays the weather, and your playlist starts.
Here’s how to integrate:
- Smart mirrors: Most smart mirrors today support Alexa or Google Assistant. You can ask for calendar events, weather, or even set timers while you’re styling. Check the compatibility list before buying. Some older mirrors don’t support voice control.
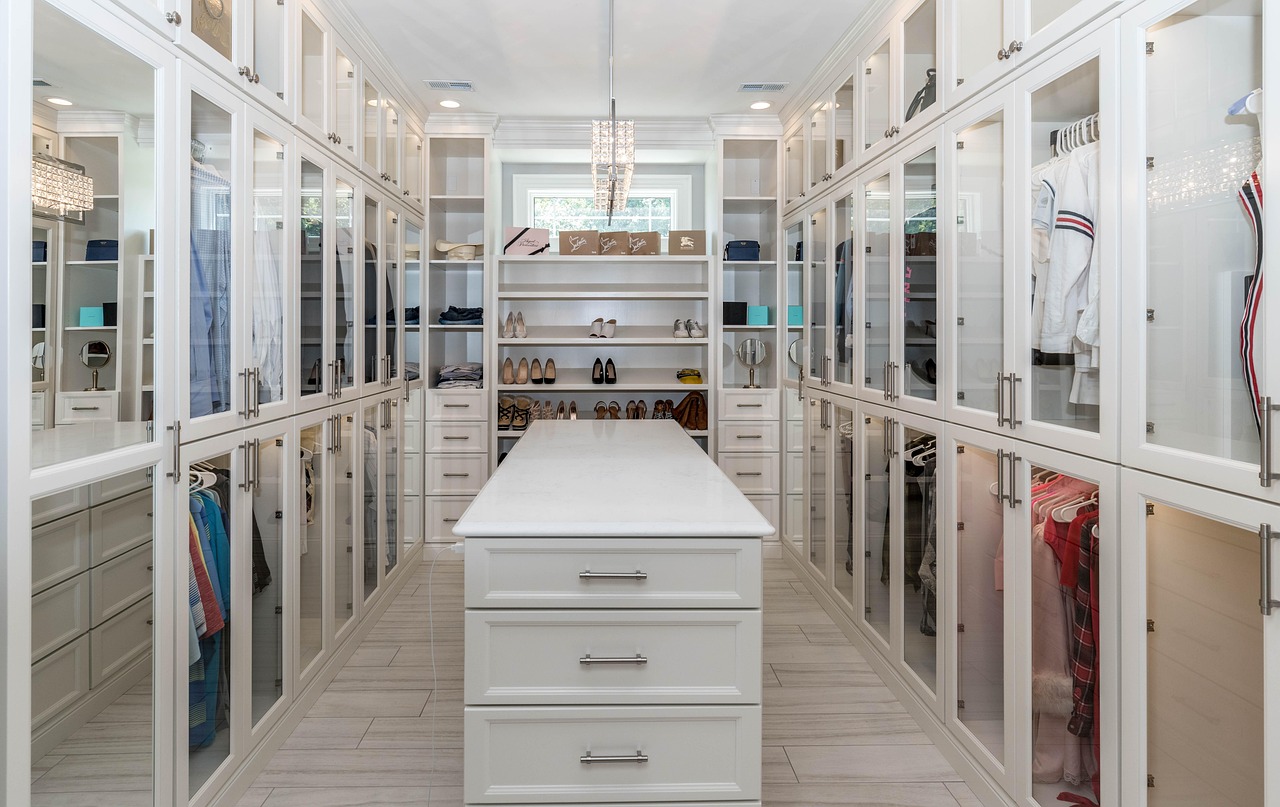
- Lighting: Smart LED strips and switches work with all major platforms. The key is consistency. Pick one ecosystem (Alexa or Google) and stick with it. Mixing devices that work only with different platforms gets messy fast.
- Automation: Use a platform like SmartThings or Apple HomeKit to create scenes. For example, a “Getting Ready” scene turns on all lights, opens the blinds, and starts a morning playlist. A “Night” scene dims lights and turns off the mirror after a set delay.
The common mistake: buying devices that claim to be compatible but aren’t supported after purchase. Read recent reviews. Check the app’s update history. A device that worked two years ago might not work with the latest firmware. Stick to well-known brands with active support.
If you’re not sure where to start, start with just your smart mirror and lighting. Voice control is great, but it isn’t essential. You can always add it later.
Real-World Cost Breakdown: Budgeting for Your High-Tech Closet
Let’s talk dollars. This is where the dream meets reality. I’ve seen estimates online that range wildly. Here’s a realistic breakdown based on my own project and research:
| Component | Low-End | High-End |
|---|---|---|
| Smart Mirror | $150–$300 | $800–$1,500 |
| Smart Lighting (LED strips, sensors, controller) | $100–$200 | $300–$500 |
| Smart Storage (hangers, app, basic shelves) | $100–$300 | $500–$1,000 |
| Electrical Work (outlets, wiring by electrician) | $150–$300 | $400–$800 |
| Total | $500–$1,100 | $2,000–$3,800 |
Notice the range. You can do a smart closet on a budget if you’re willing to use a basic smart mirror and wireless lighting. The high end is for custom cabinetry, premium mirrors, and professional installation.
My advice: prioritize. Start with lighting. It’s the most affordable and makes the biggest difference. Then add the smart mirror. Then think about storage apps and gadgets. Spread the cost over six months if you need to. The end result will be better because you made thoughtful decisions instead of impulse buys.
For budget-friendly options, a smart LED strip light kit and a basic smart mirror with LED are good starting points that won’t break the bank.
Common Mistakes to Avoid When Building a Smart Closet
I made almost all of these so you don’t have to.
- Underestimating power needs: You think one outlet is enough. Then you add a smart mirror, LED strips, a speaker, and a charging station. Suddenly you’re running extension cords. Plan for more outlets than you think you need.
- Over-relying on app-only controls: Apps crash, phones die, Wi-Fi goes out. If your only way to control the mirror or lights is an app, you’ll be frustrated. Always have a manual backup—a smart switch for lights or a physical button on the mirror.
- Neglecting ventilation: Electronics in a small closet heat up. I had a smart mirror overheat in summer because the closet was poorly ventilated. Add a passive vent or a small USB fan.
- Buying incompatible devices: Not all smart mirrors work with all smart home platforms. Not all LEDs can change color temperature. Check compatibility before you click “buy.” One bad purchase can throw off your entire plan.
- Ignoring DIY complexity: Wiring a smart mirror is not like hanging a picture. It involves cutting drywall, running wire, and possibly dealing with code. If you’re not comfortable, pay someone. The cost of a mistake far outweighs the cost of hiring an electrician.
All of these are avoidable with a little planning. The key is to be realistic about what you can handle and what you should outsource. Smart does not mean zero effort.

Conclusion: Taking the First Step Toward Your High-Tech Smart Closet
Building a high-tech smart closet isn’t about showing off. It’s about making your daily routine easier and your space more functional. The payoff is real: better lighting, smarter organization, and less time wasted figuring out what to wear.
Start with lighting. It’s the most practical, affordable upgrade you can make. Then add a smart mirror that matches your lifestyle. Then, if you want, layer in smart storage and voice control. Spread the project over time. That way you can make informed choices without blowing your budget.
Ready to explore? Start by looking at a smart mirror designed for closets to see the best options for your space and budget. Your future mornings will thank you.