DIY vs. Professional Closet Installation: A Cost Comparison to Guide Your Decision
DIY vs. Pro Closet Cost: The Full Breakdown You Need Before You Start
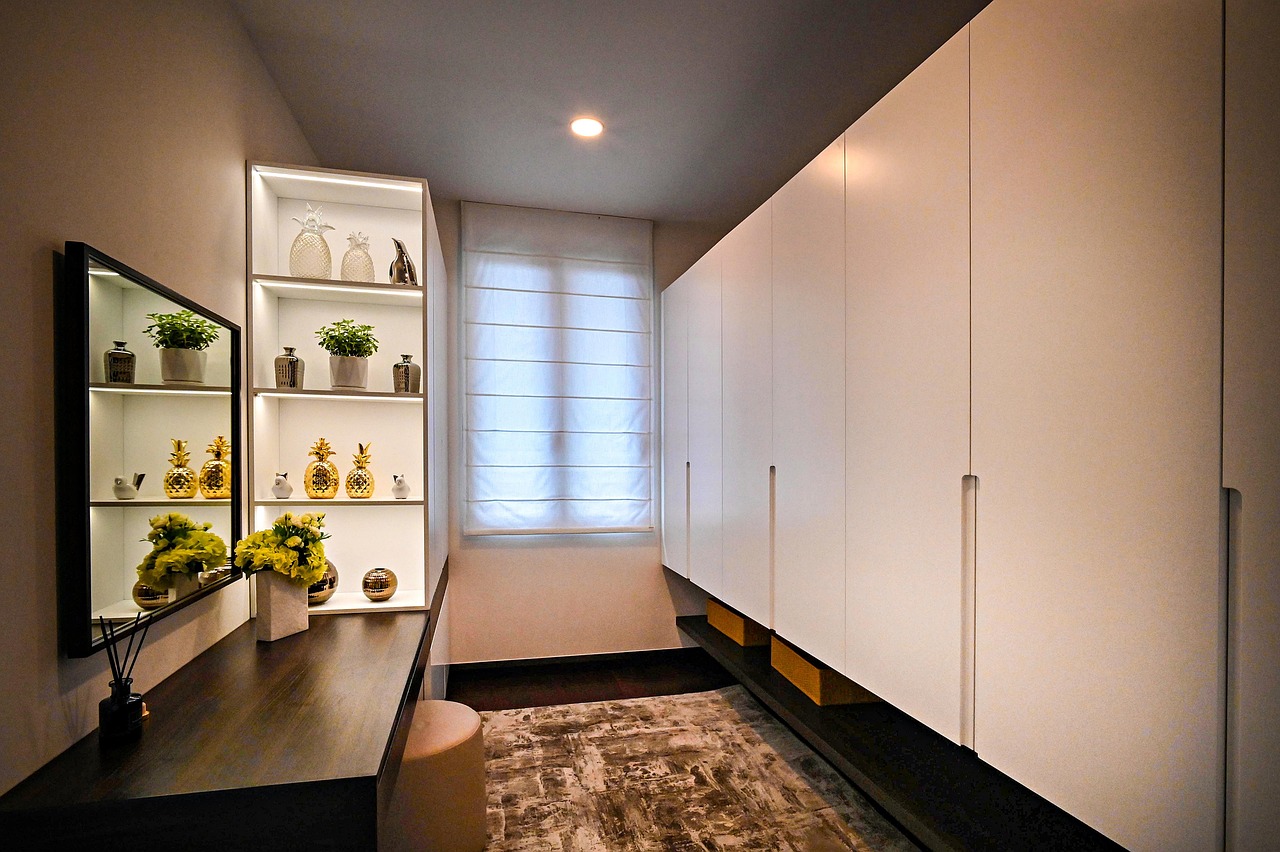
If you’re planning a closet upgrade, the first question isn’t which style to pick. It’s whether to do it yourself or hire a professional. The answer depends on a few practical factors: your budget, your skill level, and how much your time is worth. This article gives you a complete cost breakdown of DIY versus professional closet installation, so you can make an informed decision without hidden surprises later. We’ll cover what each route actually costs, the tradeoffs in quality and time, and the mistakes people make on both sides. By the end, you’ll know exactly which path fits your situation.

What We Mean by DIY and Pro Closet Installation
Let’s get specific. DIY closet installation means you buy a modular system—like an IKEA PAX or a Container Store Elfa kit—and assemble and mount it yourself. It can also mean building shelves and hanging rods from scratch with lumber and brackets. Either way, you’re the installer.
Professional installation covers custom-designed systems from companies like Closet Factory, California Closets, or a local carpenter. A designer measures your space, builds a plan, and a crew handles assembly and install. These are usually walk-in closets, not small reach-in cabinets.
The cost difference between these two approaches is substantial, but it’s not the whole story. Your skill level, the shape of your space, and how long you want the project to drag on all affect the final comparison.
The True Cost of a DIY Closet Installation
DIY is the cheaper option on the surface, but it comes with its own costs that beginners often overlook.
Modular kits are the most common DIY route. A basic wire shelving kit runs $200 to $400. A mid-range modular system with melamine or laminate panels, like IKEA PAX, ranges from $600 to $1,800 depending on size and accessories. You will also need tools. If you don’t already own a power drill, a level, a stud finder, and a saw (for cutting shelving), factor in $50 to $300 for decent tools. Renting a truck to haul the flat-pack boxes adds another $20 to $50 if you don’t have a large vehicle. For those who need reliable tools without a huge investment, a basic power drill set is a practical starting point.
If you build from scratch using lumber, expect to spend $150 to $600 on wood, plus $30 to $100 on fasteners, brackets, and hanging rods. That route takes more skill and more time.
Then there’s the hidden cost of mistakes. First-time installers often mis-measure, waste material, or have to repurchase parts they damaged. That easily adds $50 to $200. The realistic total for a DIY walk-in closet ranges from $300 to $2,500, with the majority spending around $800 to $1,500 for a decent modular system.
Time investment is also significant: expect 8 to 20 hours for a medium walk-in, more if you’re learning as you go.
The True Cost of Professional Closet Installation
Hiring a pro is a different financial picture. The design consultation is often free, which saves you the headache of figuring out what fits where. From there, pricing includes three main components.
Materials: Pro-grade systems use thicker panels, better hardware, and higher-quality finishes. A custom walk-in made of melamine or plywood with soft-close drawers and premium hanging rods typically costs $800 to $5,000 in materials alone. Solid wood or high-gloss finishes push that higher.
Labor: Installation fees vary widely by region and complexity. A standard walk-in runs $200 to $800 for a local carpenter. A national company might charge $800 to $1,500 for the same job. Delivery fees, if not included, add $50 to $150.
Flat project cost: Many pro companies quote a single number that includes design, materials, labor, and delivery. For a typical walk-in, that total ranges from $1,500 to $7,000+. National averages often cited are around $3,000 to $5,000, but regional variation is significant. In a high-cost area like the Northeast or California, expect the upper end. In the Midwest or South, you might stay closer to $2,000.
The advantage here is speed: pro installation usually takes one to two days, not weekends. And the outcome is guaranteed.
Hidden Costs and Surprises on Both Sides
Both DIY and pro routes have expenses that don’t show up in the initial budget. Knowing them ahead of time saves frustration.
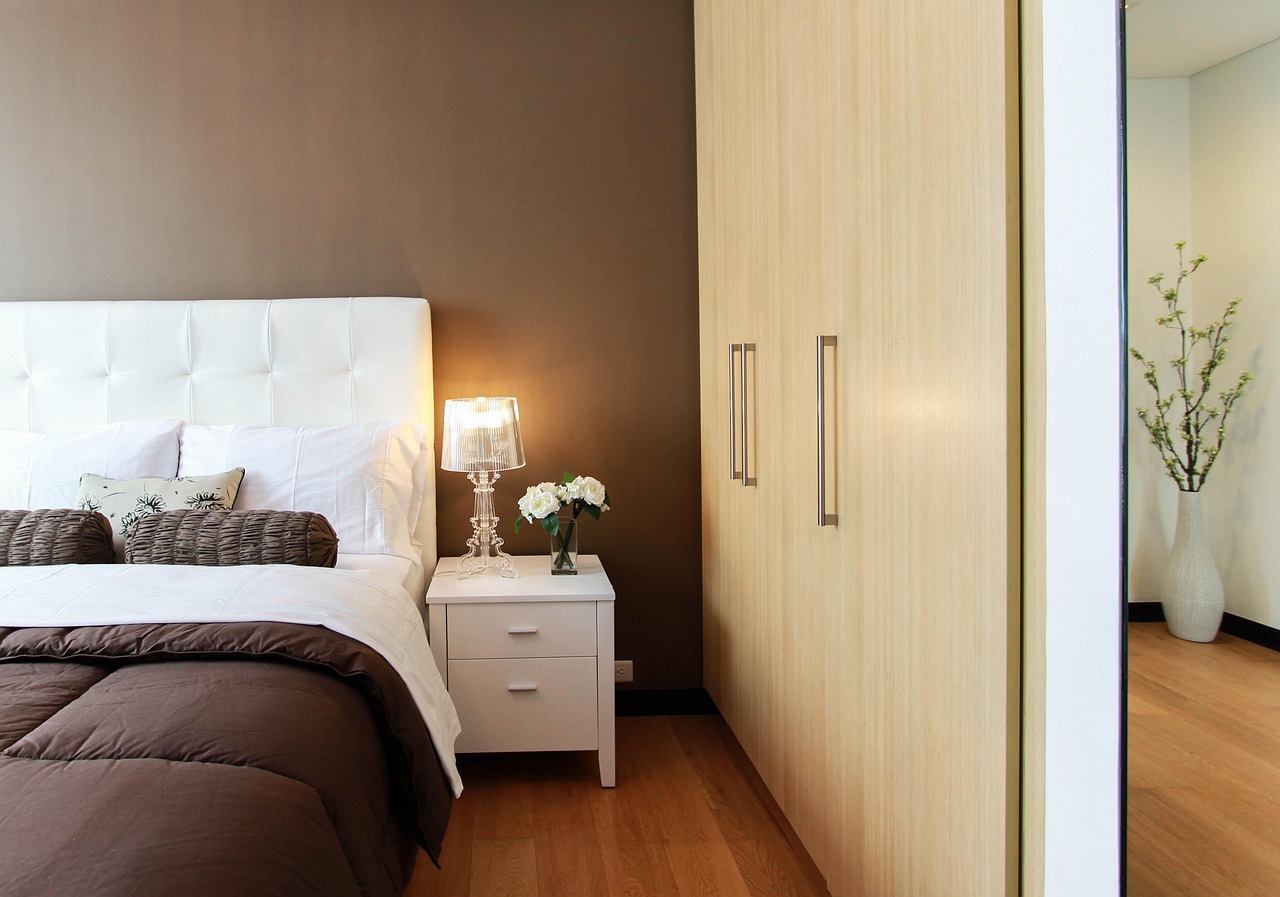
For DIY: The biggest hidden cost is the trip back to the hardware store for that one item you forgot—a missing bracket, a different type of anchor, or a longer screw. That might only be $5, but the time cost adds up. Renting a truck for bulky IKEA boxes is another $20 to $50. You also need to dispose of the old shelving or wire hangers. That could mean a trip to the dump or a $20 disposal fee if you arrange pickup.
For pro: The surprises are bigger. If your closet walls are uneven, the crew might need to do extra shimming or trim work. If you want electrical outlets or lighting moved, that’s an additional charge from an electrician. Removing old shelving your pro doesn’t cover could cost $50 to $200. And free quotes sometimes lead to upsells. The designer might show you a nice drawer or accessory not in the base price. It’s not a scam—it’s common to add $200 to $500 without realizing.
Time Investment: A Major Factor That Affects Total Cost
Your time is worth something. If you make $50 an hour, spending 30 hours on a DIY install equals $1,500 in forgone income (or overtime you could have worked). That’s not cash you hand over, but it’s a real cost.
A DIY walk-in closet typically takes a single weekend (8 to 12 hours) for a simple modular system. A more complex build with custom shelving can stretch two weekends or more, especially if you’re learning. The average first-time installer reports 15 to 20 hours for a mid-size walk-in.
Professional installation is fast. A crew of two can finish a typical walk-in in one to two days. That’s 8 to 16 hours total, but none of it is your time. From decision to completion, you wait about 1 to 3 weeks for the appointment, but the actual work is done in a fraction of that time.
If time is scarce—say you have young kids, a demanding job, or just want it done this week—the pro route is worth considering even if the cash cost is higher.

Quality and Durability Comparison
Let’s be objective. A DIY modular system, whether from IKEA or The Container Store, is made of melamine, particle board, or wire shelving. These materials work fine for most clothing and accessories, but they won’t hold up as well under heavy weight. A particle board shelf can sag over time if loaded with boots or bags. Wire shelving lets dust fall through and can leave marks on clothes.
Professional systems typically use thicker plywood, solid wood, or high-density composite panels with better edges and finishes. Soft-close drawers and heavy-duty hardware are standard. The weight capacity is higher, and the system will likely last 20 years or more without issues.
That said, a skilled DIYer can match pro quality by buying premium materials and taking their time. If you know how to join wood properly, use pocket screws, and build reinforced shelves, you can make something that rivals a professional install for half the cost. But most consumers aren’t that skilled, and for them, the difference in durability and finish will be noticeable.
The tradeoff: DIY for a reasonable storage solution on a budget; pro for a long-term, high-end result.
When DIY Makes Sense (and When It Doesn’t)
DIY is the better choice if:
- Your budget is under $1,500 total.
- You have a small to medium walk-in with straight walls and standard dimensions.
- You own basic tools or are willing to buy them.
- You enjoy the process of assembly and a weekend project sounds fine.
- You’re okay with a moderate quality outcome (not showroom, but functional).
DIY is usually a bad idea if:
- Your closet has uneven walls, angled ceilings, or unusual corners that require custom cuts.
- You need to move electrical boxes or add lighting.
- You have a tight deadline—guests coming, moving in—and can’t afford mistakes.
- You do not have a vehicle large enough to transport flat-packed boxes.
One concrete example: a 5×7 walk-in with straight walls and 96-inch ceilings is a perfect DIY candidate. The same size but with a sloped ceiling—common in attics—is a nightmare for a beginner and almost always leads to wasted materials.
When Hiring a Pro Is the Smarter Move
Professional installation is worth the money when:
- Your closet is large (over 50 square feet).
- You want a high-end finish—veneer, solid wood, integrated lighting.
- Your space has custom challenges like vaulted ceilings, odd angles, or non-standard depth.
- You do not want to deal with measuring, cutting, or assembly at all.
- You want a warranty that covers materials and labor, typically 2 to 10 years.
Another reason to go pro: resale value. A custom closet can make a home more attractive to buyers, especially if it matches the quality of the rest of the house. DIY kits don’t add the same perceived value because they look like a temporary solution.
If you have the budget and want a guaranteed outcome, paying for a professional is never a waste. It’s paying for certainty.
Side-by-Side Cost Breakdown
| Category | DIY Range | Professional Range |
|---|---|---|
| Materials | $200–$1,800 | $800–$5,000+ |
| Labor | None (your time) | $200–$1,500 |
| Tools | $50–$300 (if not owned) | None |
| Time Investment | 8–30 hours | 1–2 days (not your time) |
| Total Cost (Low to High) | $300–$2,500 | $1,500–$7,000+ |
| Warranty | Self-service | 2–10 years |
Key takeaway: The crossover point is around the $2,000 mark. Under that, DIY is the affordable path. Above that, pro becomes competitive when you factor in time saved and quality difference.
Tools and Materials You’ll Need (and Where to Save)
If you go DIY, you need these basics: a power drill, a stud finder, a level (a 24-inch or longer), a tape measure, a saw (hand saw or jigsaw for cutting shelving), and a screwdriver set. A chalk line and a speed square help for cuts.
If you don’t already own a drill and a saw, you can buy a decent combo for $60–$80. A level and stud finder set is another $20. You can also rent a miter saw for $15 per day from a hardware store if you need precise cuts. Don’t overspend on a top-tier brand for a one-time project.
For the kit itself, look for modular systems with metal hanging rods and adjustable shelves. IKEA PAX is popular for a reason: it’s modular, affordable, and widely available. For mounting hardware, buy a pack of heavy-duty wall anchors in case your studs aren’t perfectly spaced. You can find shelf brackets and closet rod holders for under $20 that perform better than what comes with low-end kits.
Don’t buy the cheapest kit. A $200 wire system will feel flimsy and may not last. Spend $400 to $600 on a mid-range melamine system instead. That’s where the best value for DIY lives.
The One Mistake Nearly Everyone Makes When Budgeting
The biggest budgeting error is ignoring the cost of accessories. When you price out a modular kit or get a pro quote, it almost never includes bins, hangers, dividers, lighting, or drawer organizers. Those add $200 to $500 on average.
For a walk-in, you’ll want shoe shelves or racks ($30–$80), pull-out bins for accessories ($15–$50 each), and coordinated hangers ($20–$60). If you want under-shelf lighting, that’s another $50 to $200 for stick-on LED units. A pro might include lighting in their quote, but many don’t.
Lighting is actually one of the smartest investments you can make. A simple battery-powered LED puck light costs $10 and makes a huge difference in usability. Look for options with motion sensors or remote controls. For those organizing on a budget, closet organizer accessories like bins and dividers are easily found under budget, but they add up quickly if you don’t plan ahead.
Set aside $300 just for accessories when budgeting either route. It will save you from an unexpected shopping trip later.

Final Verdict: How to Choose for Your Situation
Here’s the decision matrix in plain terms:
- Total budget under $1,000 and you have time and basic tools? Go DIY. Buy a mid-range modular system and install it over a weekend. Accept that the quality will be decent but not high-end.
- Total budget $2,000 to $4,000 and you want a great result but still save? Consider a DIY premium modular system but hire a local handyman to install it. You get better materials, professional labor, and pay half what a national company would charge.
- Budget $3,000 or more and you want a turnkey solution? Go straight to a professional. The fit, finish, warranty, and speed are worth it.
There’s no universal right answer. It’s about matching the approach to your specific situation—your budget, your space, your skills, and how much you hate assembling furniture.
Ready to Compare Prices and Options?
Now that you have a realistic picture of what each path costs, the next step is looking at specific products and services. If DIY fits your plan, check out the most popular modular closet kits online to see current prices. If you’re leaning pro, use the cost ranges here to get competitive quotes from at least two companies. The right choice depends on your budget, your time, and your comfort with tools. Whatever you decide, you now know what you’re actually paying for.