How to Assemble an RTA Closet System: Pro Tips and Common Mistakes
Introduction
If you’ve priced out a custom closet installation, you know the sticker shock is real. RTA (Ready-to-Assemble) closet systems offer that same organized look for a fraction of the cost—but only if you can get them put together without losing your mind. This guide is for homeowners who want to assemble an RTA closet system themselves and feel good about the result.
I’ve built a handful of these over the years, from simple reach-in designs to bigger walk-ins. Some went smoothly. Others, well, I learned some things the hard way. The goal here isn’t to sell you on the process or pretend it’s a fun weekend hobby. These are practical tips that save time, cut down on frustration, and help you dodge the mistakes that turn a two-hour project into a two-day headache. If you’re patient and take a smart approach, it’s totally doable.

What You Need Before You Start: Tools and Parts
There’s nothing worse than stopping mid-build to look for a tool. Get everything together before you open a single box. Here’s what actually matters.
Essential Tools
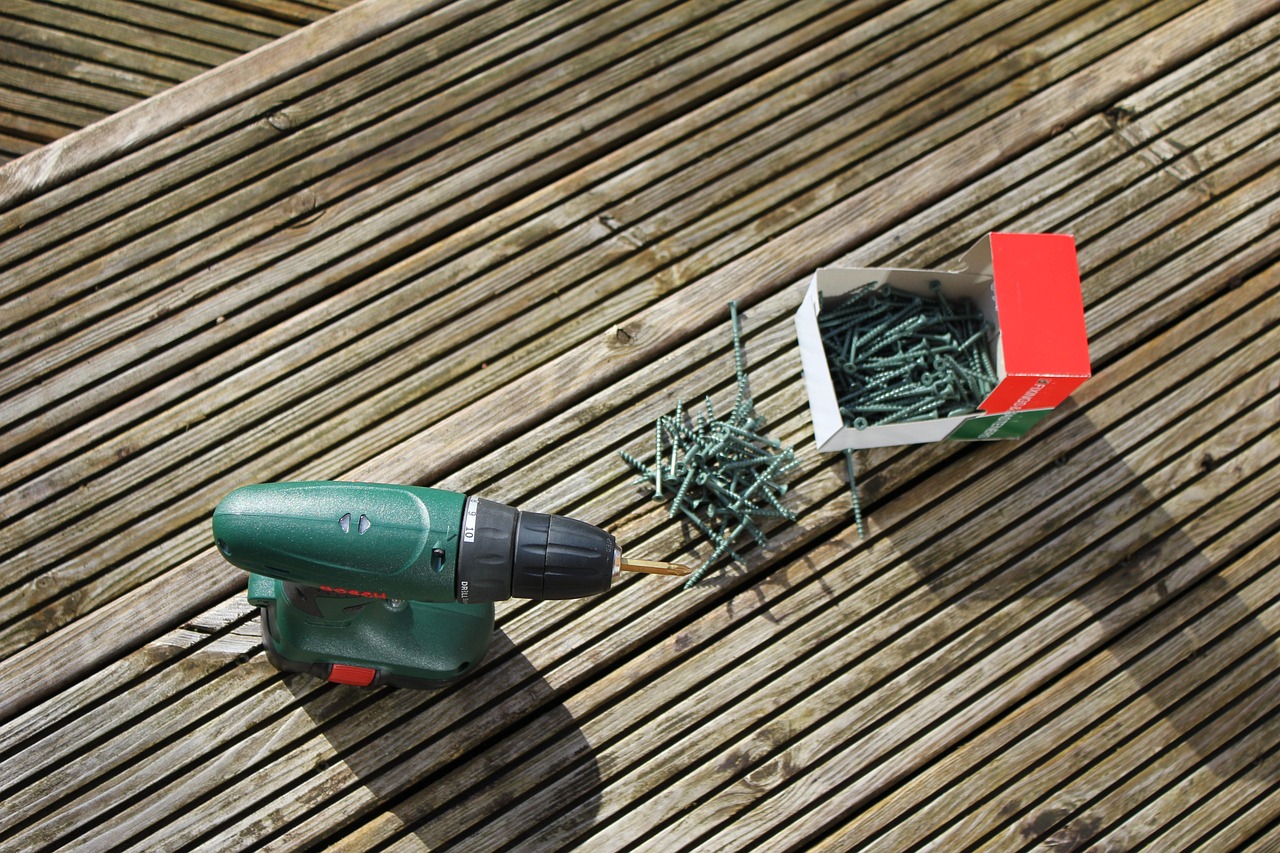
- Cordless drill – This is the workhorse. A basic 12V or 18V drill with adjustable clutch settings is ideal. It drives screws and tightens cam locks way faster than any manual tool. Budget pick: A compact lithium-ion combo kit is worth the investment. If you don’t have one, a cordless drill kit with extra batteries is a smart buy.
- Screwdriver set – Phillips head is the standard for most hardware. Keep a manual one handy for tight spots where the drill won’t fit.
- Rubber mallet – Wooden hammers can mar the panels. A rubber mallet taps dowels and panels into place without leaving dents.
- Level – Not the tiny one in your toolbox. A 4-foot level is the minimum. A shorter level can lead to sloppy alignment.
- Measuring tape – A 25-foot tape is fine. You’ll use it for spacing, centering, and checking fit against the wall.
Helpful but Optional
- Impact driver – Great for driving long screws into studs. Overkill for the cabinet assembly itself, but useful for wall attachment.
- Ratcheting screwdriver – Speeds up manual tightening without needing power. A simple time-saver.
- Spring clamps – Hold panels in place while you align holes. Handy when you’re working alone.
Decoding the Parts List
Every box comes with a hardware pack and an exploded diagram. Don’t just glance at it. Lay out the hardware by type in small cups or lids. Cam locks, dowels, screws, shelf pins—they all look similar until you need the right one. Most RTA systems pack the hardware in labeled plastic bags. Don’t rip them all open at once. Open one bag at a time as the manual directs. It saves you from mixing up screws that look identical but aren’t.
Prepping Your Workspace for a Smooth Build
The biggest mistake beginners make is clearing just enough space for the box and then realizing they have no room to lay out a 6-foot panel. Clear a floor area at least 10 by 10 feet if you can. A living room or garage works well. Lay down cardboard from the boxes themselves or a moving blanket to protect the panels from scratches and dust.
Get your hardware organized right away. A muffin tin, plastic container, or even an egg carton works well to separate cam locks, screws, and dowels. It sounds small, but it saves minutes per step. Another thing: take a photo of the box label before you recycle the packaging. That label has the model number, batch code, and warranty info. If something is damaged or missing, you’ll need it for the manufacturer. Write down the order date and keep the photo on your phone.
Good lighting matters, too. Overhead lights are fine, but a portable work light aimed at the build area keeps you from squinting at alignment holes. This is the kind of prep that makes for a relaxed build instead of a frantic one.

Step-by-Step Assembly: The Right Sequence Matters
Every RTA system follows a similar logic. You build the base, attach the sides, then connect the shelves and rods. The order in the manual isn’t just a suggestion—it makes sure panels line up correctly and the structure holds weight without racking.
Start with the Base Panels
Most systems use a bottom panel that connects to side panels with dowels and cam locks. Place the bottom panel on your work surface with the finished side facing up. Insert the dowels into pre-drilled holes. They should fit snugly but not need a hammer. If they’re tight, tap them gently with the rubber mallet. Then attach the side panels.
Dry-Fit Everything First
Here’s a tip that’s saved me from stripping a lot of cam locks: dry-fit the cam lock screws before you tighten them. Insert the screw into the cam lock hole and turn it until it’s flush with the panel surface. Don’t tighten fully. Then align the panels and insert the cam lock body. Turn the cam with a screwdriver until it clicks. This two-step process keeps you from ending up with a stripped cam lock and a wobbly connection.
Add Shelves and Rods
Once the main frame is together, install the shelf pins. Most systems come with a small alignment jig, or you can use a pencil mark. Put all pins in before sliding shelves in. For rods, attach the rod holders to the side panels before you mount them if possible. Trying to squeeze a rod holder into a tight space after assembly is just awkward.
Work systematically. Each RTA system has its own quirks, but the core steps are pretty universal: dry-fit, align, then cam. If you follow the manual’s sequence, you won’t end up with a panel installed backwards or a shelf that doesn’t reach the wall.
Common Mistakes When Assembling RTA Closet Systems (And How to Dodge Them)
I’ve made every mistake on this list. Some ended up hidden inside the closet. Others forced me to take things apart and start over. Learn from them.
Mistake 1: Overtightening Cam Locks
Cam locks are designed to turn until snug. If you keep cranking, you’ll crack the particleboard or MDF. The fix is simple: turn until the arrow or line indicator points toward the screw. That’s it. No extra force.
Mistake 2: Not Checking for Level
A small level won’t tell you if the whole unit is tilting. Use a 4-foot level across multiple points. If the floor is uneven, shim the base before attaching sides. A wobbly closet never looks right, and it can pull away from the wall over time.
Mistake 3: Mixing Up Left and Right Panels
Pre-drilled holes are mirrored on some panels. If you install a side panel backwards, the shelf pins won’t line up. Label each panel with painter’s tape as you unbox them. Write “L” and “R” or “top” and “bottom.” When the manual says “attach left side panel,” you’ll know exactly which one it means.
Mistake 4: Forgetting Shelf Pins Before Securing Panels
You can’t add shelf pins after the shelves are in place if the side panels are already glued or cam-locked. Install all pins in the side panels before you assemble the main structure. Then you can slide shelves in freely later. Simple step, saves minutes of frustration.
Should You Use Glue or Screws During Assembly?
This is a common question, and the answer depends on your priorities. Most RTA systems are designed to work with cam locks alone. No glue needed. But adding a small drop of wood glue to dowel joints adds lateral stability, especially in a high-use closet where you’ll be sliding hangers and pulling out drawers daily. It’s not necessary for structural safety, but it can cut down on squeaking over time.
Screws are a different story. Cam locks are intentional—they allow for disassembly if you move or reconfigure. Adding screws into cam lock holes or through the surface voids that flexibility and may void the warranty. Only add screws in spots the manufacturer recommends, like the back panel or top reinforcement block. For most installations, cam locks plus glue on dowels is the sweet spot.
Tools and Accessories That Save Time
A few small purchases can make assembly noticeably smoother. If you’re gearing up for a build, these small upgrades are worth it. For anyone who assembles furniture regularly, a cordless electric screwdriver is a practical option for handling repetitive screws without hand fatigue.
- Cam lock alignment tool – A tiny plastic piece that helps you turn the cam lock from the edge of a panel. Huge time-saver when you can’t reach the slot easily.
- Socket adapter for drill – Fits over the cam lock head and lets you tighten with the drill instead of a screwdriver. Speeds up the repetitive cam tightening steps.
- Electric screwdriver – A small, lightweight one is perfect for the hundreds of screws in a closet system. Your hands will thank you after the third hour.
These aren’t splurges—they’re practical investments that can cut build time by 20-30%. I use them every single time now.
Hanging the Closet System: Wall Attachment Basics
Attaching the assembled unit to the wall isn’t optional. It prevents tipping and keeps the closet square against the wall. Start by locating studs with a stud finder. Mark them on the wall. Most systems provide a top bracket or rail that screws into studs. If your system attaches through the back panel, use the pre-drilled holes as guides.
In drywall-only spots where no stud is available, use toggle bolts rated for the weight of the system. Never rely on drywall anchors alone for a tall unit. Also, check that the floor is level. If it isn’t, shim behind the top plate before tightening. A perfectly level base makes the wall attachment easier and keeps the unit from racking.
For concrete or tile walls, you’ll need masonry anchors and a hammer drill. That’s a different process entirely. If you’re not comfortable with those tools, consider hiring a pro for just the wall attachment part.
Installing Drawers and Doors: The Tricky Part
Drawer slides and door hinges are where precision matters most. Slides come in two types: side-mount and undermount. Side-mount are easier for beginners because you can see the alignment. Mount the slide bracket to the drawer first, then attach the cabinet-side part. Measure the gap equally on both sides before securing. A 1/16-inch discrepancy is fine, but anything more becomes noticeable when the drawer is open.
Doors with European hinges are adjustable. After mounting, use the screws on the hinge to adjust gap, tilt, and depth. Common mistake: tightening the door screws completely before adjusting. Leave them slightly loose, adjust, then lock. If the door gap is uneven on one side, the hinge adjustment will fix it. For overlay doors, make sure the door is centered on the opening before tightening.
Customizing Your RTA System After Assembly
The best part about RTA closets is that they aren’t permanent. Once the system is installed, you can adjust shelf heights, move rods, or add accessories. Many systems let you reposition shelves by simply moving pins to different holes. Live with the configuration for a week before committing. You might realize you want more hanging space or an extra shelf for folded items.
Common additions after assembly include pull-out baskets, tie racks, or jewelry drawers. Most RTA brands offer add-on kits that match the existing finish. Don’t rush to customize on day one. Use the system as-is, note what bothers you, then adjust. This approach makes the closet truly functional rather than just following a generic plan.

When to Call a Professional vs. DIY
DIY isn’t always the right answer. If the room has odd angles, non-standard walls (like plaster or tile), or the system is more than 8 feet tall, the complexity increases quickly. Same goes for systems with multiple sections that need to be connected in a straight line. A pro brings experience with leveling and alignment that can save you from crooked results.
Here’s a simple rule: if you open the manual and the assembly instructions don’t make sense after 15 minutes of reading, hire someone. The money you save by not making mistakes is worth the peace of mind. If you’d rather go with a pro, find a local installer who specializes in RTA furniture assembly. It’s often more affordable than you’d think.
Get Started with Confidence
Assembling an RTA closet system is completely achievable with the right preparation, tools, and patience. Plan your workspace, follow the manual’s sequence, dry-fit before tightening, and double-check your level. Avoid the common mistakes—overtightening, mixing panels, skipping shims—and you’ll end up with a stable, good-looking closet that works for years.
The process isn’t glamorous, but the result is genuinely satisfying. You saved money, learned a skill, and made something functional for your home. For those ready to get started, a closet organization system kit can be a solid starting point for building a custom layout. Browse our recommended tools and kits to get started.