How to Save Money by Reusing Existing Closet Rods and Shelves
Introduction
If you’re planning a closet upgrade on a tight budget, it’s worth taking a close look at what you’ve already got before you buy anything new. The most straightforward way to save money is a budget closet reusing gear approach, specifically your existing rods and shelves. In many standard homes, these components are perfectly functional. They don’t need to be replaced simply because you’re rearranging the space or repainting the walls. With a little planning, a few basic tools, and a willingness to measure twice, you can keep your old hardware and redirect your budget to upgrades that actually have an impact, like lighting or premium hangers. This guide covers exactly what to look for, what to avoid, and how to make your current setup work in a new layout.

Why Reusing Closet Rods and Shelves Makes Financial Sense
The financial argument for keeping your existing closet infrastructure is strong. A single new closet rod can cost anywhere from $30 to $100 depending on the material and finish. Solid wood shelves run $50 to $200 each. For a typical reach-in closet with three rods and two shelves, you’re looking at a base cost of $200 to $700 just to replace the core structure. That aMount could instead go toward higher-impact items like a pack of velvet hangers, a proper closet lighting kit, or a small set of modular drawers.
Most standard home closets use basic builder-grade rods and shelves. These are often made from solid wood or heavy-gauge metal, designed to hold weight for decades. They don’t degrade or go out of style. In most cases, the hardware is still structurally sound even if the finish has some cosmetic wear. By opting for a budget closet reusing gear plan, you keep that money in your pocket and spend it where it actually benefits your daily routine.
Think of it this way: replacing a perfectly good rod is like replacing a kitchen cabinet door because you painted the wall behind it. It’s unnecessary work and unnecessary expense. The savings from reuse can easily hit 70 to 80 percent on that line item, which adds up fast when you’re working within a limited budget.
What to Look for When Inspecting Your Existing Hardware
Before you decide to reuse, you need to inspect your current rods and shelves honestly. Most issues are repairable, but some are dealbreakers.
Material and Structural Integrity
Solid wood rods are almost always worth keeping unless they are cracked or show signs of dry rot. Metal rods should be checked for straightness. Lay a rod on a flat surface and roll it. If it wobbles or has a visible bend, it may cause clothes to slide or hangers to catch. Wire shelves need a full inspection for sagging. Sagging can often be corrected by adding a center support bracket, but if the shelf is already bent, it will not recover.
Mounting and Finish Condition
Check the flange, bracket, or track system. Loose screws are a cheap fix. Stripped screw holes in particleboard or drywall can be patched with wall anchors or toggle bolts. Rust is common on metal rods in humid climates. Light surface rust can be sanded off and painted. Heavy rust that flakes or pits the metal should be cause for replacement, as it can transfer to your clothes. Water damage on wood shelves, especially swelling or delamination, is almost always a sign it’s time to buy new.
Minor Issues That Are Easy to Fix
Scratches, scuffs, or discoloration are purely cosmetic. A quick sanding and a coat of paint or stain can make a metal rod or wood shelf look new for less than $10. Don’t let surface wear trick you into replacing something that works perfectly.
Tools and Supplies You Might Already Own for Reinstallation
You don’t need a pro-grade toolkit to pull off a successful reuse project. The tools required are common household items for most DIYers:
- Stud finder
- Drill with screw bits
- Level (a 24-inch level is ideal)
- Screwdriver (flathead and Phillips)
- Hacksaw or pipe cutter (for trimming metal rods)
- End caps (if you cut a rod)
- Measuring tape
If you are missing a stud finder, you can still locate studs by tapping on the wall or using a neodymium magnet to find drywall screws. A cheap stud finder from a hardware store makes the job faster and more reliable. A single budget-friendly stud finder can be worth the investment if you plan to do multiple projects.
For metal rods, a hacksaw and an end cap are all you need. Wood shelves rarely need cutting beyond what a circular saw or handsaw can handle. Most homeowners already have these tools in a drawer or garage. If you do not, consider borrowing from a neighbor before buying, since the actual usage time is minimal.
Planning Your Layout to Accommodate Existing Rods and Shelves
The hardest part of reusing existing hardware is making it fit a new layout. You need to measure the exact dimensions of your rods and shelves and compare them to the space you want to create. This is where trade-offs happen.
Double-Hang vs. Single-Rod Layouts
If you are switching from a single rod on one wall to a double-hang system, your existing single rod might be too long to split into two smaller sections. A double-hang layout requires rods that are typically 36 to 40 inches long each, which is shorter than the standard 48- or 60-inch single rod. Measure your rod length before you commit to a layout. If your existing rods are too long, you can cut them down with a pipe cutter or hacksaw. If they are too short, you might need to buy one new rod for that specific section, which is still cheaper than replacing all the rods.
Shelf Depth and Folded Items
Standard closet shelves are often 12 inches deep. That works fine for folded hoodies and jeans. But if your existing shelves are only 8 or 10 inches deep, they won’t fit bulky sweaters or boots. In that case, you might repurpose the shallow shelf for accessories or shoes and buy a deeper shelf for the main zone. Again, it’s better to buy one new shelf than all of them.
Clearance for Long Garments
A single rod hung at 40 inches works for shirts, but a double-hang layout needs 84 inches of vertical clearance for full-length coats and dresses. If your existing rod is already at 40 inches, you cannot convert that single to a double without raising the top rod. That may require removing and reinstalling existing hardware at a new height. That’s fine, but it adds extra work. Plan your layout around the physical limitations of your space and your existing gear.
Measure Twice, Move Once
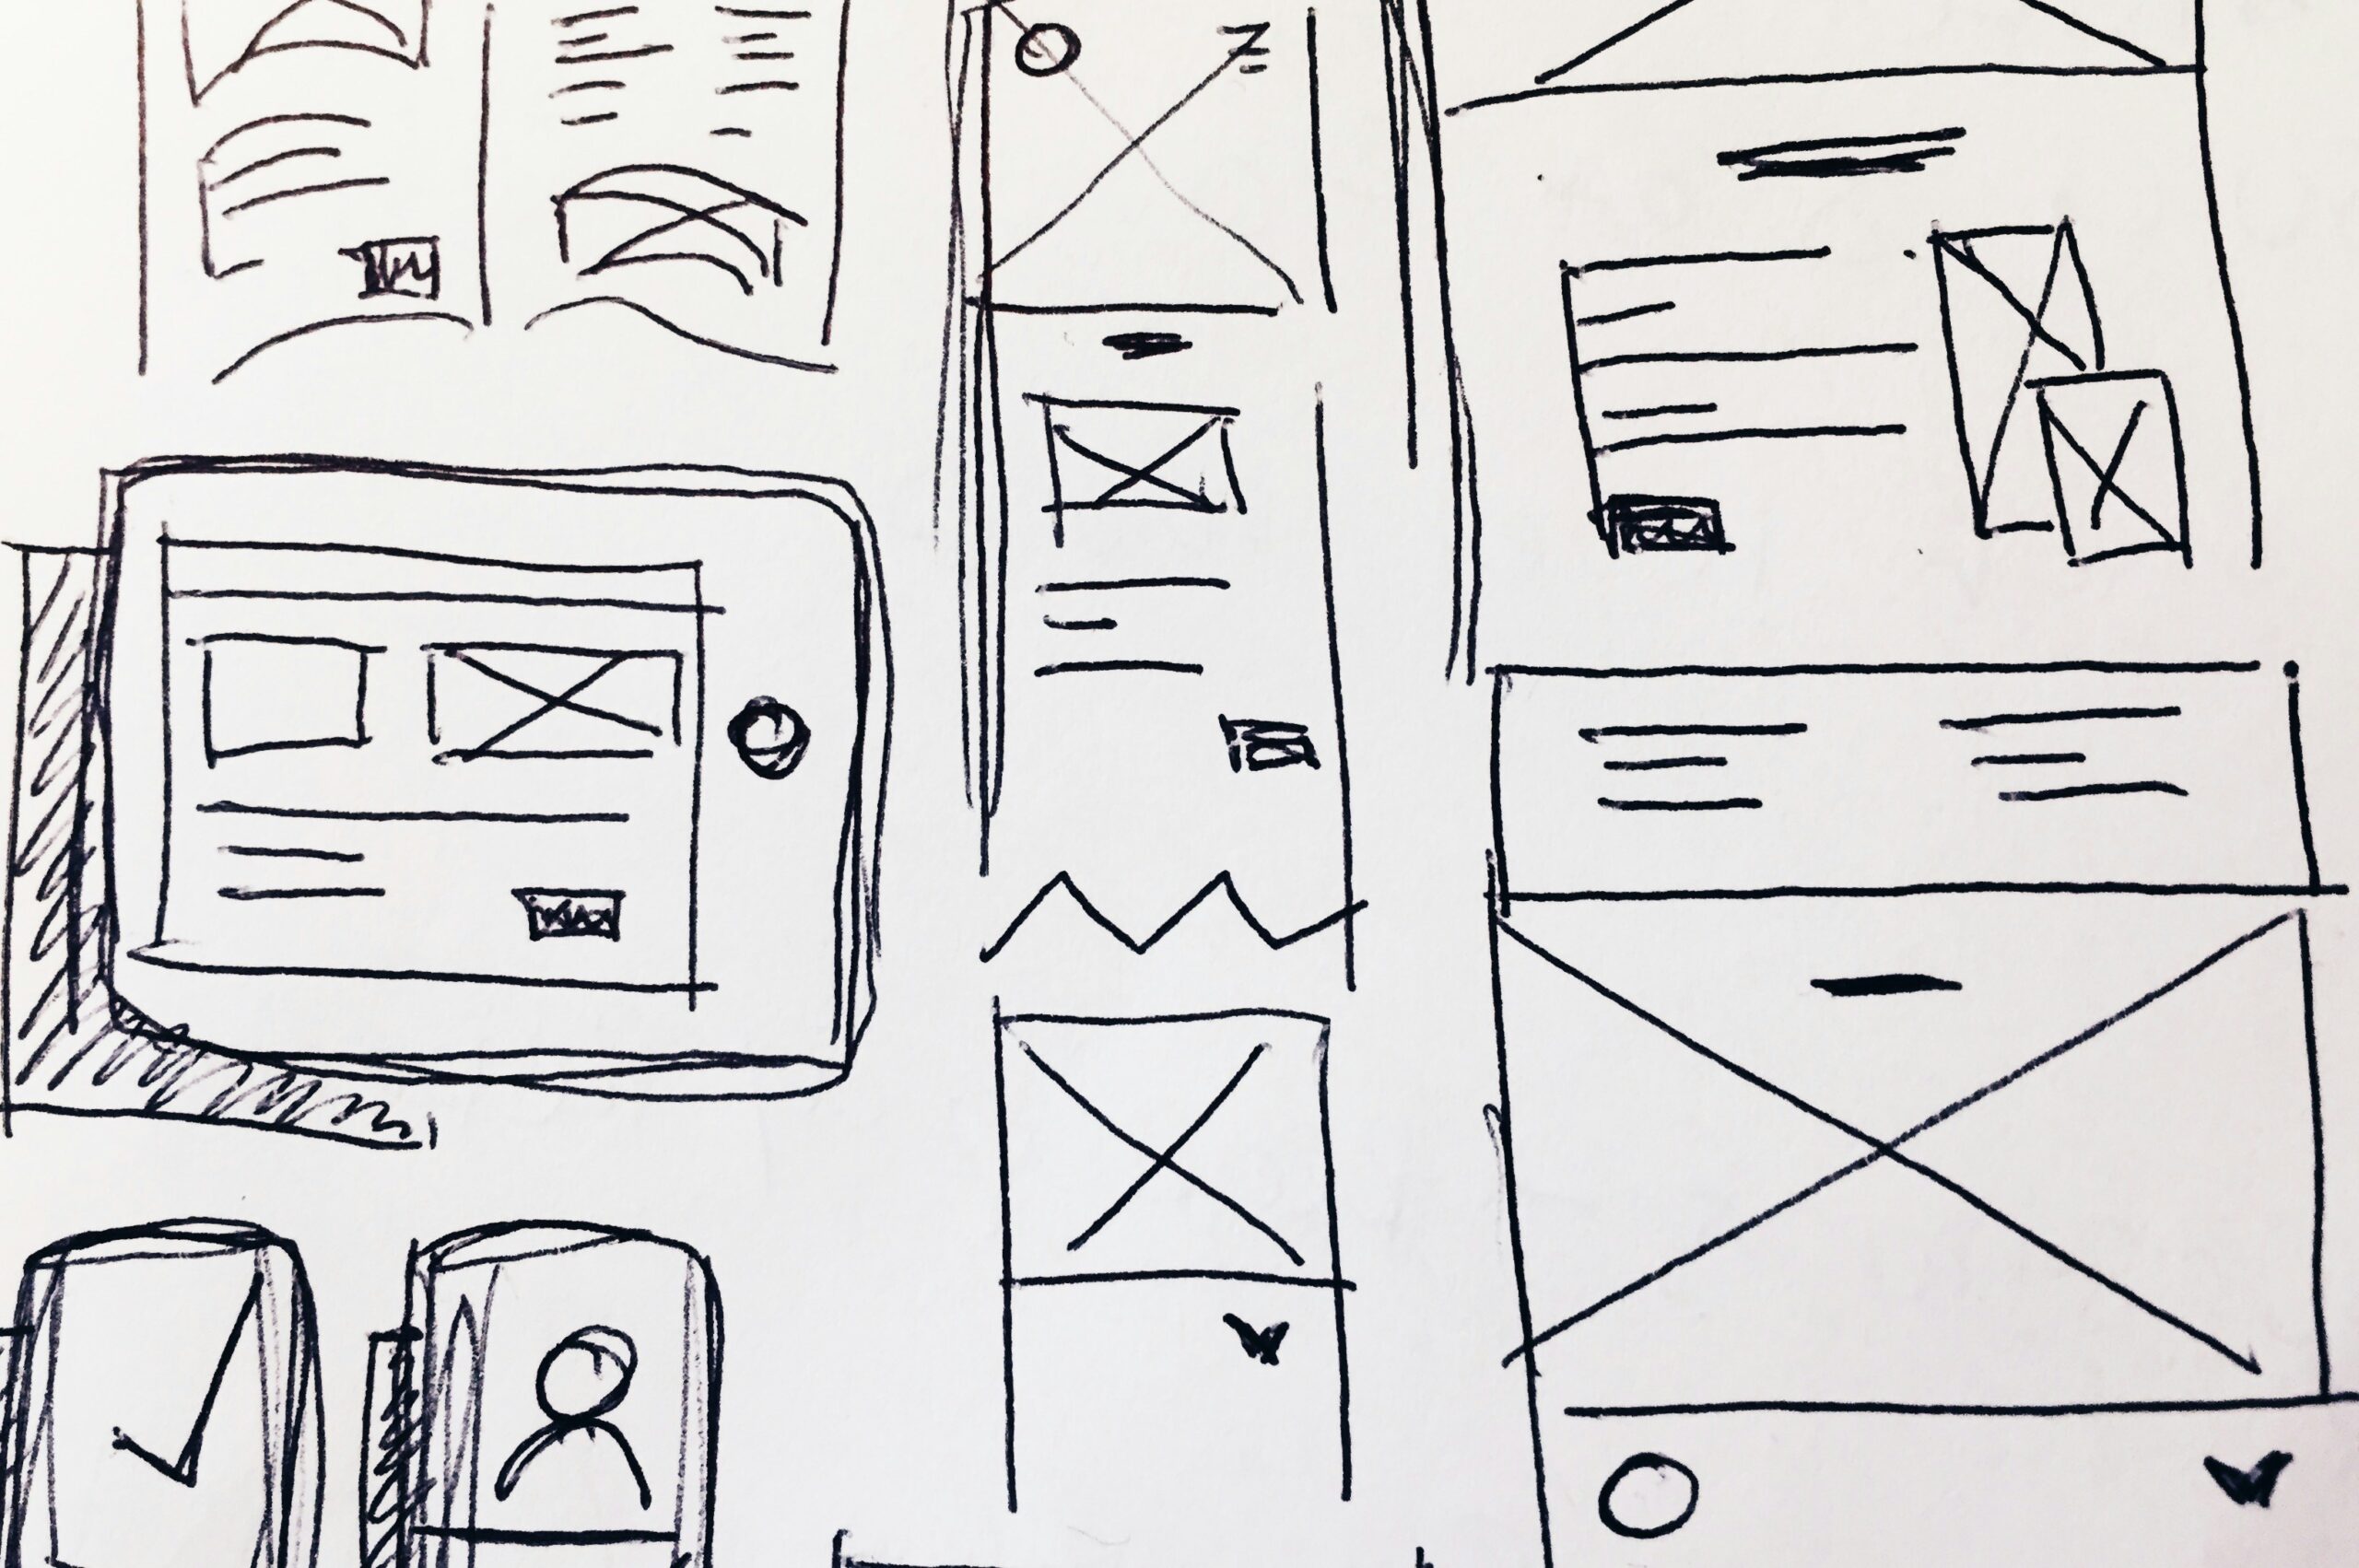
Sketch a rough floor plan with dimensions. Mark where each rod and shelf will go before you take a screwdriver to anything. This avoids the headache of pulling hardware off the wall only to find that nothing fits the way you imagined.

Step-by-Step: How to Remove and Reinstall Closet Rods and Shelves
- Clear the entire closet. Remove all hangers, clothes, shoes, and boxes. This gives you a clean workspace and prevents damage to garments during removal.
- Unscrew mounting hardware. Use a drill or screwdriver to remove the brackets, flanges, or track systems that hold the rods and shelves. Keep all screws and fasteners in a labeled bag or container. You’ll reuse them unless they are stripped or rusted.
- Clean all components. Use a mild cleaner like diluted dish soap or a vinegar-water mix. Remove dust, cobwebs, and any grime. For metal rods, you can hit them with a degreaser to remove old residue. Let everything dry completely before reinstallation.
- Patch and paint the walls. This is a good time to fill old screw holes and patch any damage left by the previous mounting brackets. A small tube of spackle and a putty knife is all you need. Let it dry, sand lightly, and paint if you want a fresh look.
- Mark new mounting locations. Refer to your layout plan. Use a pencil to mark where each bracket or support will go. Use a level to ensure the marks are perfectly horizontal. A slightly slanted rod will cause hangers to slide, so this step is critical.
- Install new brackets into studs. Use your stud finder to locate wall studs. If you cannot hit a stud, use heavy-duty drywall anchors designed to hold at least 50 pounds. Screw the brackets in securely.
- Mount and level the rod or shelf. Place the rod or shelf into the brackets. Check level one last time. Tighten any set screws or end caps. Do a quick load test by hanging a few heavy items to confirm stability before refilling the entire closet.
Common mistake: Failing to use a level at all. Even a difference of ⅛ inch over a 48-inch rod is noticeable. Clothes will slowly migrate to the low end, leading to a messy, frustrating result. Always check level in two directions during installation.
How to Adjust or Modify Rods and Shelves for a Better Fit
Wood Shelves
If your wood shelves look tired, sand them with 120-grit sandpaper to remove scratches and old paint, then apply a coat of primer and fresh paint or stain. Use a water-based acrylic for low odor and quick drying. This refresh costs less than $15 and completely changes the look of the shelf. You can also cut down a wood shelf using a circular saw or handsaw if it’s too long for the new layout. Always score the cut line with a straightedge before cutting to avoid splintering.
Metal Rods
Metal rods are easy to shorten. Use a hacksaw with a fine-tooth blade for clean cuts, or a pipe cutter for a smoother edge. After cutting, debur the edges with sandpaper or a file, then install an end cap on each side to prevent snagging hangers or clothes. End caps are sold in packs at hardware stores for a few dollars.
Bracket Systems
If the bracket or flange is damaged but the rod is still good, replace just the bracket. Most standard closet rods use universal-size brackets. A pair of heavy-duty flanges costs under $10. You do not need to throw away the entire rod because the mount broke.
Expanding Rods
For situations where your existing rod is a few inches too short, you do not need to cut anything. Expanding closet rods are a low-cost alternative that let you extend the rod to fit a wider span without cutting or modifying the original. They also eliminate the need for brackets in some cases, since they tension-mount between two walls. This is a practical stopgap if your layout needs just a bit more length.
The principle is simple: minor modifications cost far less than buying new gear and often yield the same functional result. The only real cost is your time and a few dollars in supplies.
Common Mistakes When Reusing Closet Hardware (and How to Avoid Them)
1. Not checking weight capacity.
Wire shelves are notorious for sagging under the weight of stacked jeans, boots, or suitcases. If you are reusing wire shelves, place heavy items on the ends near the supports, not in the middle. Avoid stacking heavy bins on wire shelves unless you add a center support bracket. For solid wood shelves, verify that the bracket spacing is no more than 32 inches apart to avoid sagging.
2. Using the wrong fasteners for the wall type.
If you are mounting into drywall without hitting a stud, use plastic anchors rated for at least 25 pounds per bracket, or toggle bolts for heavy loads. A standard drywall screw without an anchor will pull out under the weight of hanging clothes. This is a common source of failure that is easy to prevent.
3. Ignoring leveling.
We touched on this already, but it deserves its own mention. A level rod is a functional rod. An unlevel rod is a problem. Make leveling a non-negotiable step in your installation process.
4. Keeping a rusty rod that stains clothes.
Surface rust can be cleaned off, but if the rust is deep and flaking, it will eventually transfer to your garments. Replace a deeply rusted rod. The cost of a new metal rod (under $20) is less than the cost of ruined clothing.
When You Should NOT Reuse Old Closet Rods or Shelves
There are real limits to reuse. Knowing when to walk away saves you frustration and potential damage to your clothes or walls.
- Severe rust or corrosion on metal rods that cannot be removed with sanding or a wire brush. If the metal is pitted, replacement is the only option.
- Wood with dry rot, termite damage, or major warping. Dry rot weakens the structural integrity. A shelf that is warped will never sit flat and will eventually sag.
- Brackets or flanges with stripped threads that cannot be tightened. If the bracket is non-standard (odd size, custom shape), it may be hard to replace or match. In that case, it’s often easier to buy a new rod and bracket set.
- When your layout changes drastically. If you are converting a single-rod closet to a double-hang system, you cannot reuse one long rod as two shorter rods unless you cut it, which is fine. But if the new layout requires rods of completely different lengths, buying one or two new rods is usually more efficient than trying to modify everything.
Even in these scenarios, replacement can still be budget-friendly. A single metal rod from Amazon or a hardware store costs around $15 to $25. You are not committing to a total system overhaul. You are making a smart, targeted purchase to solve a specific problem.
Budget-Friendly Upgrades to Pair With Your Reused Gear
Once your rods and shelves are reinstalled, it’s time to make the closet feel like an upgrade without touching the structure. These low-cost additions complement reused gear perfectly:
- Velvet hangers. Thin, non-slip, and uniform. A 10-pack of velvet hangers costs around $10 and instantly reduces visual clutter. They also double the hanging capacity because they are thinner than plastic or wood hangers.
- Shelf liners. Keep folded items from slipping and protect the shelf surface from wear. A roll of rubberized shelf liner is under $10.
- Tension rods for accessories. Install one vertically between a shelf and the rod below to create a scarf or belt rack. Tension rods are under $10 and require no tools.
- Small canvas bins. Great for socks, underwear, or accessories. A set of four canvas bins costs around $20 and fits neatly on a shelf.
- Command hooks. Add stick-on hooks inside closet doors or on wall panels for bags, belts, or ties. They are cheap, removable, and leave no damage.
These additions cost between $20 and $50 total and dramatically improve the user experience of your closet without requiring you to replace a single rod or shelf.
Cost Comparison: Reusing vs. Buying New Rods and Shelves
Reusing Your Existing Hardware
- Cleaning supplies: $5–$10
- Small hardware (screws, anchors, end caps): $5–$10
- Paint or sandpaper (if refreshing finish): $10–$15
- Total: $0–$35
Buying New Rods and Shelves (Typical Reach-In Closet)
- Three metal rods at $25 each: $75
- Two wood shelves at $50 each: $100
- Brackets, flanges, and screws: $25
- Total: $200
In many cases, reusing saves you around 70–80 percent of that cost, or roughly $165–$200. That is a meaningful savings for a budget-conscious homeowner, especially when you factor in the time you would spend shopping, waiting for delivery, and installing all-new gear.
Final Thoughts: Making the Most of What You Already Have
Start with a thorough inspection of your current closet hardware. Most rods and shelves are built to last decades, not years. With minimal effort, they can be cleaned, adjusted, and reinstalled to serve you well in your new layout. The money you save by using a budget closet reusing gear approach can fund upgrades that actually make a difference in your daily routine—like better hangers, proper lighting, or smarter storage solutions. Reusing isn’t about cutting corners. It’s about making smart decisions with your resources. Ready to explore what you can reuse? Start with your closet rod.