How to Design a Boutique Walk-In Closet: Bring the Store Home
“`html
Introduction
People linger in boutique stores for a reason. It’s not just the clothes. It’s how everything is presented. The lighting makes textures pop. Shelves hold just enough, never too much. Every detail feels intentional. You want that feeling at home—a space where getting dressed feels less like a chore and more like a ritual.
That’s what a boutique walk-in closet delivers. It combines the visual appeal of a high-end retail showroom with the functional purpose of a personal wardrobe. The good news? You don’t need an interior designer or a bottomless budget to create one. This article walks through the practical steps to get the look—planning, lighting, storage choices, and finishing touches—without the six-figure price tag.
What Is a Boutique Walk-In Closet?
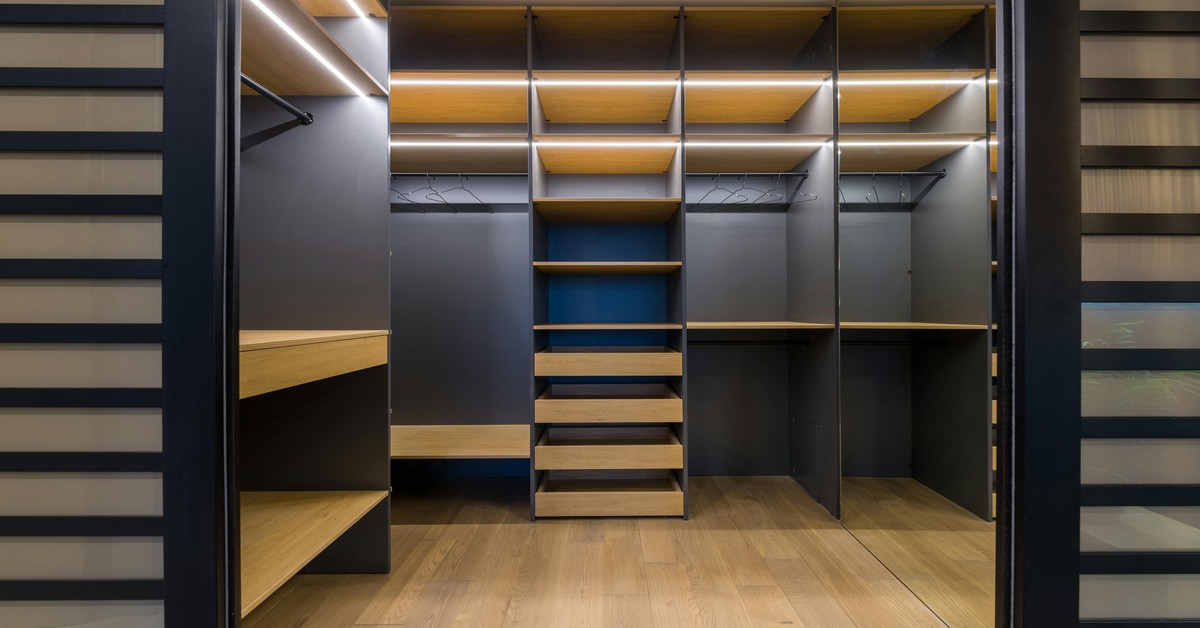
A boutique walk-in closet is a designed space that prioritizes display, organization, and atmosphere—not just storage. Think clean lines, open shelving, curated displays, and premium lighting. It’s about making your wardrobe part of the room’s aesthetic.
The key difference from a standard walk-in closet is intentionality. A typical closet might have a center rod, a top shelf, and maybe a dresser inside. A boutique version zones everything. Handbags sit on tiered shelves like product displays. Shoes face forward, dust bags tucked away. Folded items are stacked by color, not crammed. Even the hangers are uniform.
Boutique doesn’t mean gimmicky. It means every inch of the space is optimized to look clean, feel luxurious, and work efficiently. That clarity is what makes it so appealing—and so achievable once you understand the fundamentals.
The Real Cost: What to Expect
Let’s talk numbers, because every closet project starts with a budget check. You can spend as little as a few hundred dollars or well into five figures. The difference comes down to materials, labor, and customization level.
- DIY budget: $300 – $1,500. This covers basic shelving systems, lighting kits, and accessories. You pick everything up from a big-box store or order modular units online. Your biggest investment is time.
- Semi-custom: $2,000 – $8,000. You buy a system like The Container Store’s Elfa, California Closets, or an IKEA hack. Assembly and installation will require more effort, but you gain better finishes and flexibility.
- Full custom: $8,000 – $30,000+. This involves a contractor, custom cabinetry, premium lighting, and often built-in seating or island units. The result looks like something from a Beverly Hills storefront, but the price reflects the craftsmanship.
Most people make two mistakes early on. First, they underestimate the cost of good lighting. Second, they skimp on hardware—flimsy rods and cheap handles ruin the look quickly. Spend wisely on the elements that matter most: lighting, shelving quality, and visible finishes. Those are what sell the boutique feel.
Planning Your Layout: Key Zones to Include
Before you buy a single shelf, measure your space and plan the zones. A boutique closet works because it separates functions. Here are the essential zones to include, regardless of room size:
- Display area: A focal wall for handbags, shoes, or an outfit of the week. This is your visual anchor.
- Hanging zone: Divided by garment length. Short hang (shirts, jackets) allows for a shelf or drawer below. Long hang (dresses, coats) needs full vertical space.
- Folded storage: Open shelving for sweaters, denim, and athleisure. Keep stacks three items deep max.
- Shoe display: Angled shelves, tiered racks, or clear boxes. Front-facing shoes create instant boutique energy.
- Accessories: Dedicated drawers or trays for watches, belts, scarves, and jewelry.
For small spaces (under 30 square feet), combine display and hanging on one wall. For medium spaces (30–60 sq ft), add a small island or bench. For large rooms, you can build separate islands and a full seating area. A practical tip: before committing to a layout, tape out the zones on the floor with painter’s tape. Walk through your morning routine. Make sure paths feel natural and nothing blocks access. For those who prefer a modular approach, a closet organization system can simplify the planning process.

Lighting Is Everything: Your Top Priority
If you do one thing well, make it lighting. Bad lighting turns even the most expensive closet into a dim cave. Good lighting makes every piece look intentional and elevated.
Start with ambient lighting. Recessed LED cans or a flush-mount fixture provide general light. Avoid warm bulbs below 3000K—they cast yellow shadows that distort colors and make fabrics look cheap. Stick with 3500K or 4000K LED bulbs for that clean, bright retail feel.
Next, add task lighting. LED strip lights under shelves and inside display cubbies eliminate shadows. They highlight what’s on the shelf. Consider a lighted valet rod. These rods have integrated LEDs that shine upward onto hanging garments. They’re a bit pricier than standard rods, but they change the entire look of the hanging zone. Travelers who need a quick outfit plan may also appreciate a lighted valet rod for evening preparation.

Finally, an accent lighting element. This could be a small chandelier over the island or a picture light above your handbag display. It doesn’t need to be expensive—a $100 fixture from a lighting retailer works as long as the light quality is right.
Storage Systems: Open Shelving vs. Closed Cabinets
This is the big debate. Here’s a balanced take.
Open shelving looks more boutique. It invites you to display curated color palettes and styled stacks. But it demands discipline. If your folded piles are messy or your bags are beat up, everyone sees it. Open shelving works best for people with a contained wardrobe who are willing to edit regularly. It also allows for more flexible arrangements over time.
Closed cabinets hide clutter. You can shove a pile of gym clothes behind a door and no one knows. The tradeoff is visual weight. Solid cabinet doors break up the boutique feel and make the room feel smaller. Glass-front doors are a middle ground—display without dust problems, but they show fingerprints and need cleaning.
My recommendation: mix both. Use open shelving for your everyday items and curated displays. Use closed cabinets or drawers for off-season gear, bulky items, and things you don’t want to style. That balance gives you the best of both worlds without the full maintenance burden of all-open storage.
Creating a Retail Display Wall for Bags and Shoes
Your display wall is the centerpiece. Get this right and the whole closet feels elevated.
For handbags, shelving depth matters. Most bags are 8–12 inches deep from front to back. Shelving that’s 12 inches deep accommodates most totes and crossbodies, while 14 inches allows for larger weekenders. Space shelves between 10 and 14 inches apart vertically—enough for a medium tote but not so much that it looks empty. Use clear acrylic risers inside cubbies to stagger heights. It creates visual interest and makes each bag feel special.
For shoes, display them facing forward, not stacked sideways. Angled shoe shelves take less space and show off the silhouette. If you prefer boxes, choose clear acrylic boxes. Stackable clear boxes keep dust away and allow you to see the pair without opening. Avoid opaque boxes—they kill the boutique atmosphere. A simple way to improve a shoe collection is to use clear shoe display boxes for dust protection and visibility.
A common mistake is overcrowding. Boutique walls have breathing room. Each item has its own visual weight. If you have more than 20 handbags, rotate them seasonally and store the rest out of sight. The same goes for shoes: display only your top 15–20 pairs. Less is more, and it keeps the space from feeling cluttered even when it’s actually full.
Choosing Finishes: Wood, Metal, or Glass?
Finishes set the entire mood. Here’s how to decide.
Wood finishes bring warmth. Maple and white oak are popular for a clean, Scandinavian look. Walnut or mahogany adds richness. If you want a lighter, airy feel, use painted wood in matte white or soft gray. Durable lacquer finishes hold up well to daily use. Solid wood is overkill for shelving—good quality plywood with veneer gives the same look at half the cost.
Metal finishes add elegance. Satin brass, matte black, or polished nickel rods, brackets, and hardware update a standard system. They don’t need to be real metal—high-quality powder-coated steel works. But steer clear of shiny chrome unless your closet is a 1980s time capsule. Satin brass and matte black are forgiving with dust and fingerprints.
Glass doors look sleek but require maintenance. Every fingerprint shows, especially under good lighting. If you choose glass, go with tempered, low-iron glass. It reduces the green tint and looks crystal clear. Tempered glass is also much safer if it breaks.
Practical maintenance hint: if you have young children or pets, lean toward closed storage with easy-clean surfaces. If you’re building for yourself and don’t mind a quick weekly wipe, open shelving and glass are worth it.
The Importance of Curation: Quality Over Quantity
A boutique walk-in closet only looks good if what’s inside looks good. That means editing your wardrobe before you design the space.
Here’s a straightforward three-step process:
- Remove everything. Take every piece of clothing, shoe, and accessory out. This step forces you to assess the total volume of your wardrobe.
- Sort into three piles: Keep, donate/sell, and store. The keep pile should contain only items you wear regularly and that fit well. If something hasn’t been worn in 12 months, into the donate pile it goes—unless it’s sentimental or seasonal.
- Arrange by color or category. A boutique closet looks organized because colors flow naturally. Light to dark, warm to cool, or by season. Choose whichever makes sense for your brain.
The number one mistake people make is building a boutique space and then cramming it full. A hundred shirts stuffed into four shelves doesn’t look like a store—it looks like a warehouse. Keep your wardrobe lean and the space will breathe.

Accessories That Elevate the Space
Accessories are the finishing details. They don’t need to be expensive, but they should be intentional.
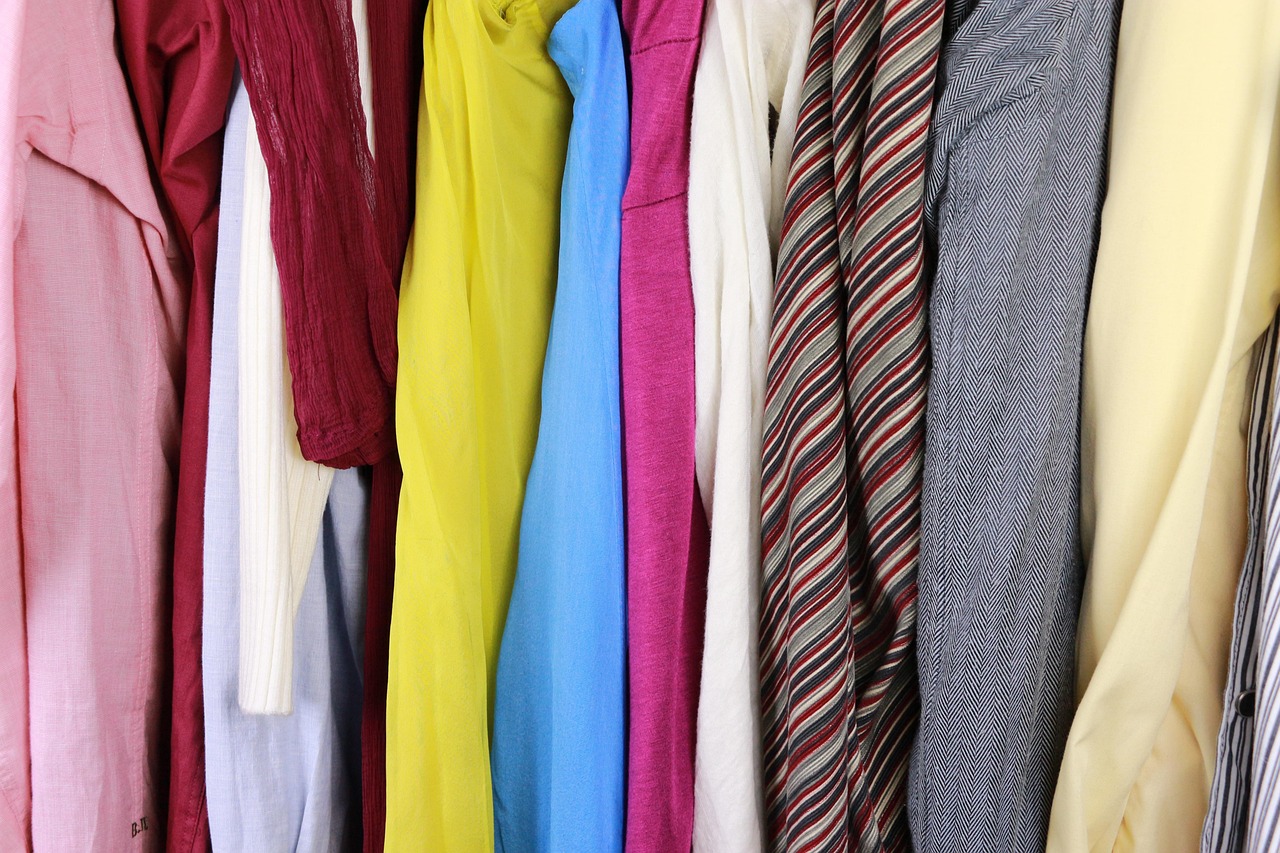
- Velvet hangers: Replace all mixed plastic, wire, and wooden hangers with slim, non-slip velvet hangers. They save space, keep clothes from slipping, and look uniform. A set of 50 runs about $30 and changes the room instantly. Beginners may want to start with a set of velvet hangers for a uniform boutique appearance.
- Jewelry trays: Custom inserts for drawers keep necklaces untangled and rings organized. Felt-lined trays are ideal—soft, protective, and elegant.
- Valet rod: A pull-out or drop-down rod for planning outfits. Hang tomorrow’s clothes the night before. Simple, functional, and adds a touch of daily ceremony.
- Seat or ottoman: Even a small bench at the center or end of an aisle gives you a place to sit while putting on shoes. Upholstered options add warmth. Ottoman with hidden storage is a smart way to keep extra linens or off-season accessories tidy.
- Full-length mirror: Necessary for any boutique closet. A wide mirror against the wall makes the room feel larger. Lighted mirrors add extra polish.
These are the small touches that separate a functional closet from a boutique experience. You don’t need everything on the list. Pick two or three that match your biggest pain points and start there.
Budget-Friendly Alternatives to High-End Retail Systems
Not everyone can drop $8,000 on custom cabinetry. That’s fine. You can still get a room that feels boutique. The trick is knowing where to spend less and where to spend smarter.
Wire shelving systems are the most affordable option. Yes, wire isn’t as luxurious as wood, but painted wire is clean and functional. Pair it with fabric bins for folded items. Use mesh or fabric drawer units for accessories. The tradeoff is visual noise—wire systems can feel cluttered if you don’t edit hard. But they’re durable, easy to install, and cost pennies compared to wood.
IKEA hacks are a middle ground. Pax systems, for example, offer modularity and a range of finishes. Add crown molding, under-shelf lighting, and upgraded handles. Suddenly it doesn’t look like standard flat-pack furniture. Many designers do this on the regular. It works.
Peel-and-stick wallpaper is a low-commitment way to add pattern and warmth. Use it inside glass cabinets or on the back wall of your display shelving. It adds instant personality without permanent change.
Durability is the main tradeoff with budget systems. Wire shelving can sag over time under heavy loads. IKEA-based systems are well-engineered but might not withstand a decade of daily use like solid wood. Still, for most people, these systems offer ten solid years before they need upgrading. That’s plenty of time to enjoy the space.
Common Mistakes When Designing a Boutique Closet
I’ve seen the same missteps come up over and over. Avoid these and you’ll skip most of the frustration.
- Poor lighting placement. A single overhead light creates shadows. You need layered light: ambient, task, and accent. Don’t skip under-shelf strips.
- Wrong shelving depth. Shelves that are too shallow can’t hold folded sweaters. Shelves too deep hide items in the back. Standard is 14–16 inches for hanging, 12–14 inches for folded.
- Forgetting long dresses and coats. If you don’t plan for long hang, you’ll end up with hems dragging on the floor. Measure your longest garment and add clearance.
- Too much open storage. Open shelving only works if you are disciplined. If you know you tend to pile things, add more closed storage.
- Ignoring the ironing or packing area. A small countertop for folding or a built-in ironing board saves trips to the laundry room. A small packing area with hooks and a clear counter is a lifesaver before trips.
- Skimping on hardware. Flimsy plastic drawer slides or thin metal rods will fail. Spend an extra few dollars per drawer on soft-close hardware and solid rods.
- Not accounting for airflow. Shoes and bags stored in airtight cubbies can trap moisture. Leave breathing room between items and store leather goods in breathable dust bags.
Is a Boutique Walk-In Closet Right for You?
Not everyone needs a boutique closet. If you have a compact wardrobe and prefer everything tucked behind doors, a traditional closet may serve you better. But if you enjoy seeing your collection, swapping outfits weekly, and treating your space as a reflection of your style, then yes—it’s likely the right move.
Boutique closets are ideal for:
- Fashion lovers who want to see their wardrobe like art.
- Minimalists who prefer fewer, higher-quality items shown cleanly.
- Homeowners building a new closet in a new build or major renovation.
- Renters who want to improve a storage area without permanent changes.
They’re less ideal if your wardrobe is mostly bulk storage, you need space for children’s gear, or your primary concern is maximizing linear feet of hanging space. Those priorities are best served by a standard efficient closet with doors that close. Different goals, different solutions.
Ready to Start Your Boutique Closet?
Here’s a quick summary to get moving: measure your space, plan your zones, invest in good lighting, choose a mix of open and closed storage, and edit your wardrobe ruthlessly. Everything else is secondary.
Your first step should be something small but concrete. Measure your closet’s dimensions. Tape out the layout. Order a set of velvet hangers. That tiny action moves you from thinking about a boutique walk-in closet to actually building one.
Start there. The rest will follow.
“`